| - Put in new exhaust system, because the previous owner installed a wrong one from an Opel (!) | DONE |
| - Rebuild engine and transmission due to enormous loss of oil | DONE |
| - Repair electric trunk pull down mechanism | DONE |
| - Some front suspension parts need attention | DONE |
| - New battery needed | DONE |
| - A set of new 2 1/4" custom made radial wide whitewall tires from Diamond Back | DONE |
| - Do some cosmetical touch-ups of the original paint and chrome | PLANNED |
| - Install new carpet - could not find a perfect replacement yet | PLANNED |
| - Convert lighting system back to original condition | DONE |
| - New paintjob around 2009? Not sure about this - maybe I´ll leave it alone | PLANNED |
| - Repair windshield wipers and washer - works perfect now thanks to www.wiperman.com | DONE |
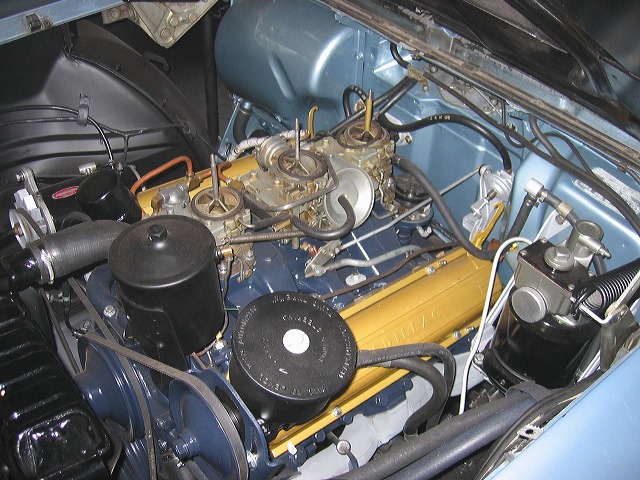
| - Rebuild all three dual carburetors | DONE |
The Restoration of my Seville
My car is still in its original condition with original paint. Some work already was done and some more will be necessary in the future.
I´m planing to do some more, although the car drives and handles like a dream. It has no rust and even the Vicodec top is in perfect condition. The car runs beautifuly, but I´m a perfectionist and everything has to be as good as possible.
I did a big part of the restoration myself - like removing all the old paint in the engine paint, disassembling everything in the engine bay, repaint most of the parts and some other stuff. A shop here in Austria allowed me to do all this work myself in the shop under their professional supervision.
After I cleaned everything the professionals took over to rebuild the engine and transmission, and to put everything back together. They also did all the painting in the engine bay and the engine itself. They also made sure that everything works again and took care of everything that had to be repaired. The only thing we outsourced was the rebuild of the windshield wiper and washer unit which was sent to the USA for a rebuild.
The things I had and will have to fix included the following:
1958 Cadillac Eldorado Seville restoration pictures
I took some pictures during the restoration of the engine and engine bay between 2004 & 2005.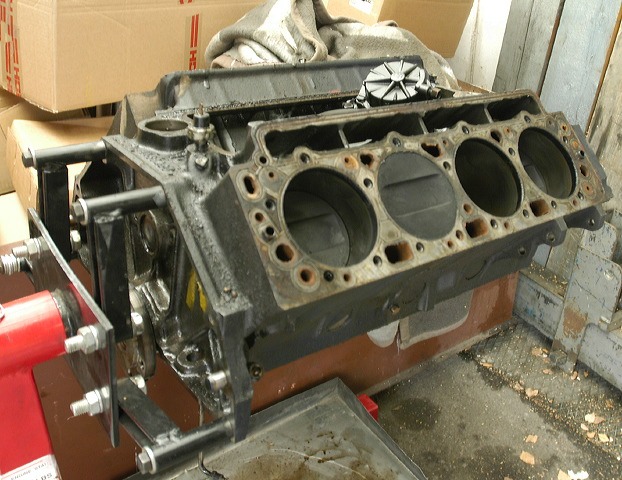
The engine was very dirty and all the original gaskets were shot. It had only minor deposits and the bearings showed no wear. Two valves needed some attention.
The transmission was also out and needed some gaskets replaced, otherwise it was in perfect condition too.
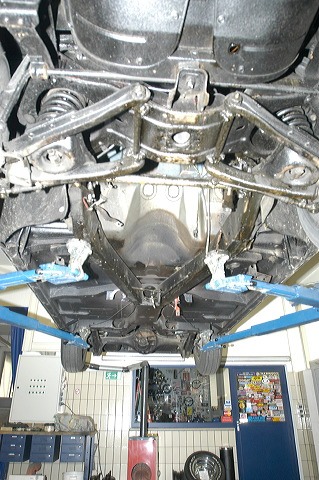
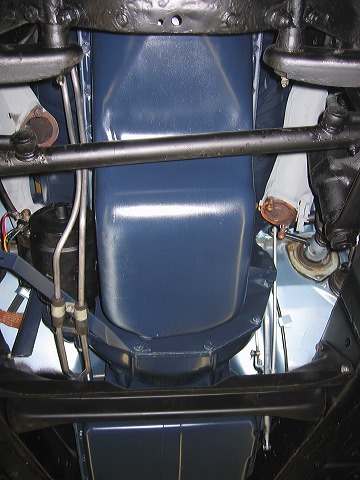
The underside of my 58 Seville. 100% rustfree but full of oil from the leaky transmission and the engine. The exhaust system will be replaced too.
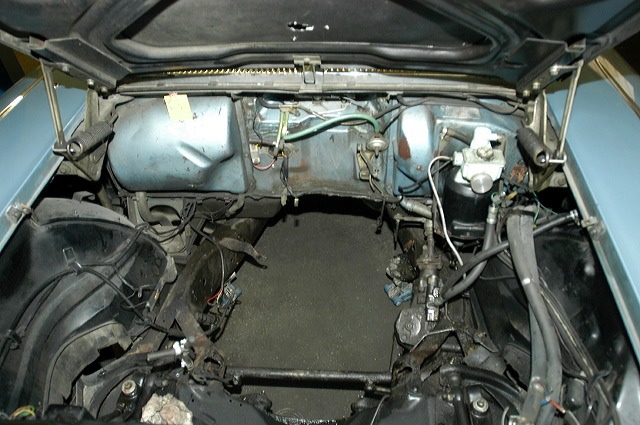
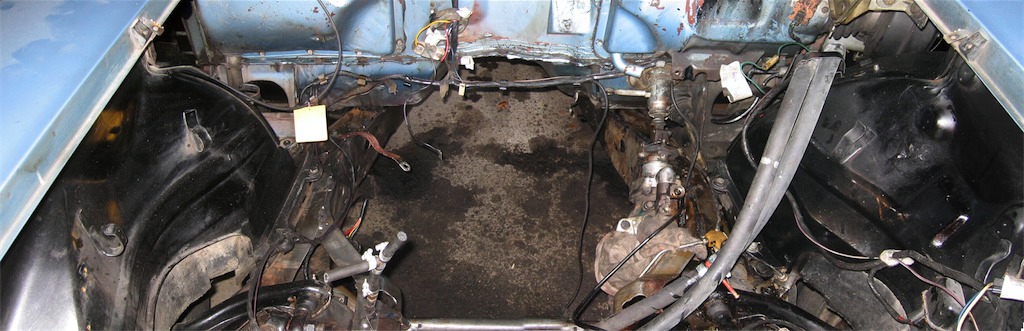
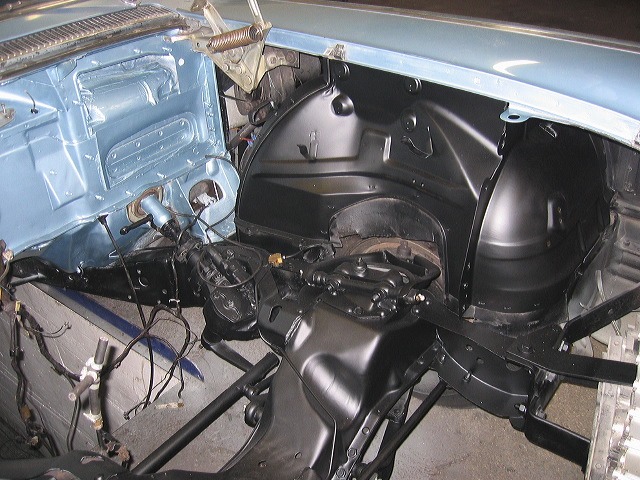
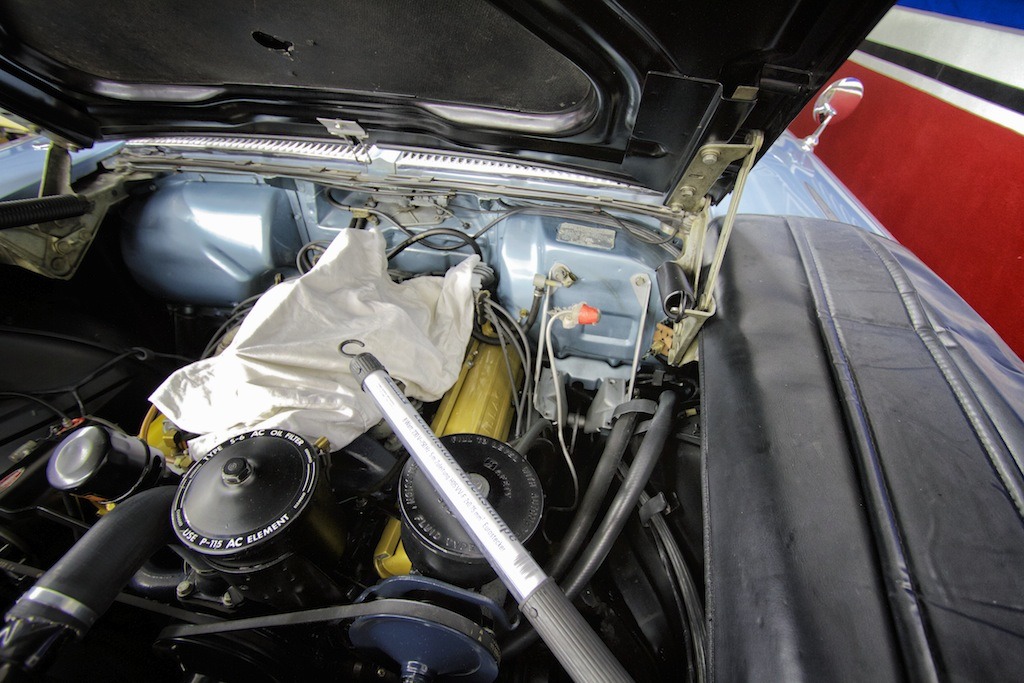
The empty engine compartment. Here you can see parts of the front suspension. Everything is very dirty. I´ll have a lot of fun cleaning all this...
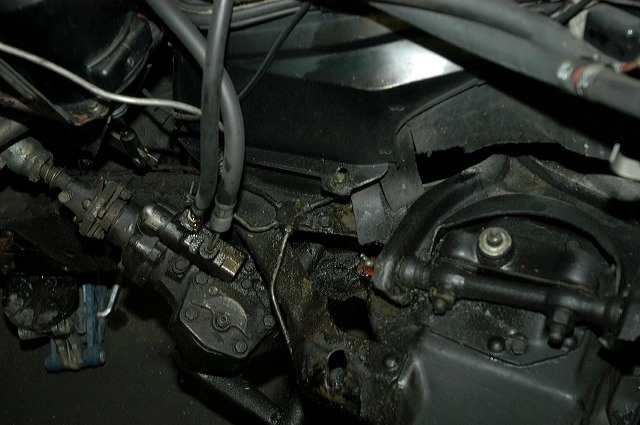
The filthy steering gear. It came come out soon for closer inspection and a rebuild if necessary. And a good cleaning job...
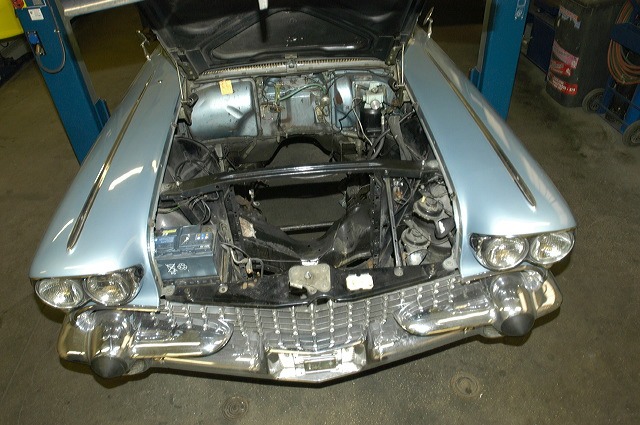
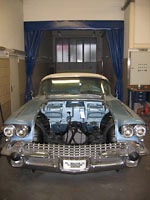
The empty engine compartment. This car is an unrestored example and looks very nice for a 46 year old car.
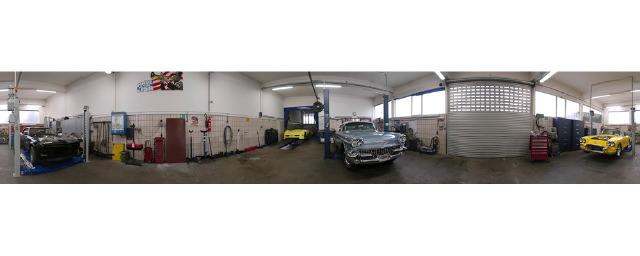
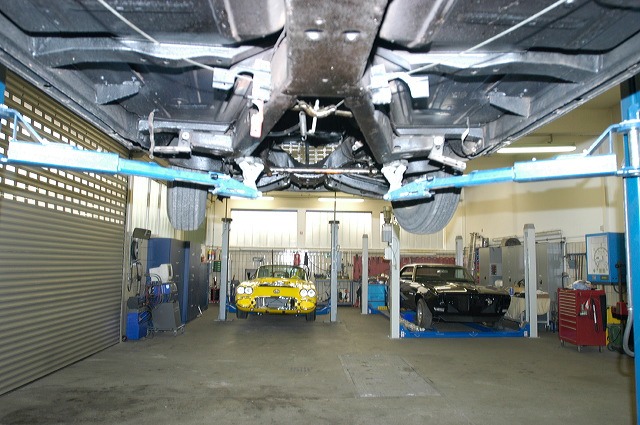
This is the shop in Austria where my 58 was restored.
This shot is 360 degree panoramic image.
The empty engine compartment. This car is an unrestored example and looks very nice for a 46 year old car. A lot of cleaning ahead...
The underside of my 58 Seville. 100% rustfree but full of oil from the leaky transmission and the engine. The exhaust system will be replaced too.
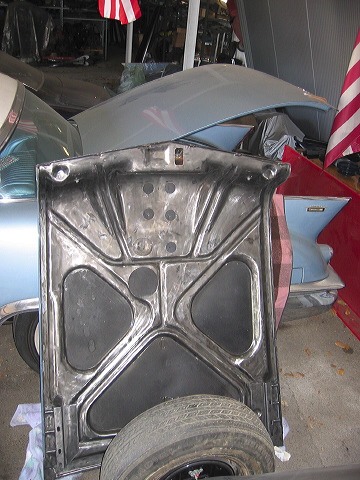
The hood was also sanded down to bare metal and will get a fresh coat of paint on the inside.

a trunk full of parts...

I cleaned everything in the engine bay down to bare metal. The frame I´m standing on was removed too and sandblasted
only slight surface rust here.
removing some parts for a repaint
does anybody have an idea where I can get this rubberpart from the blower?
These were the only really rusty parts on the car.

The first finished parts
The first finished parts
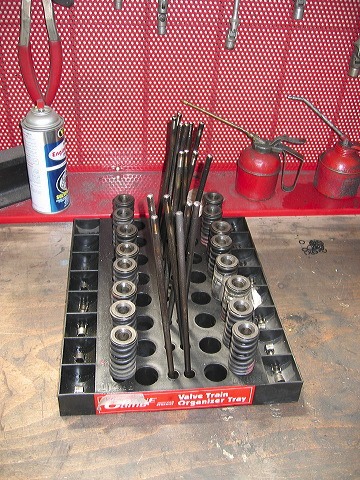
Valves
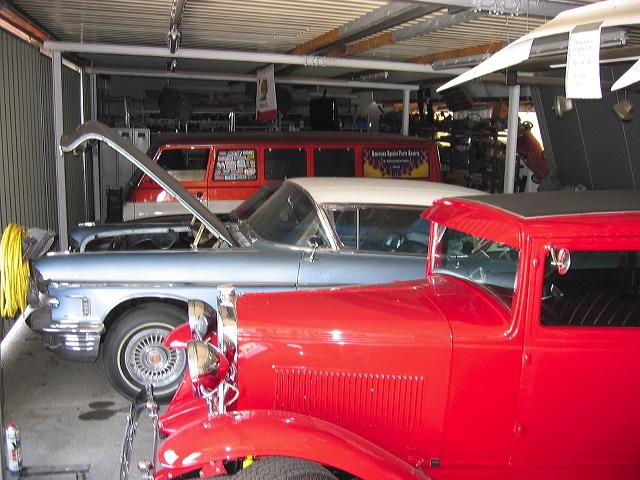
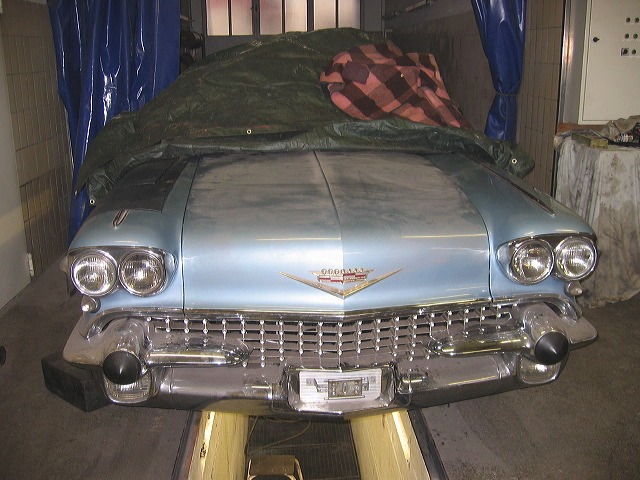
this is where the Eldo lives at the moment.
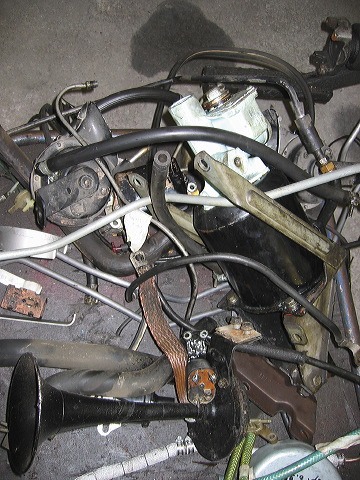
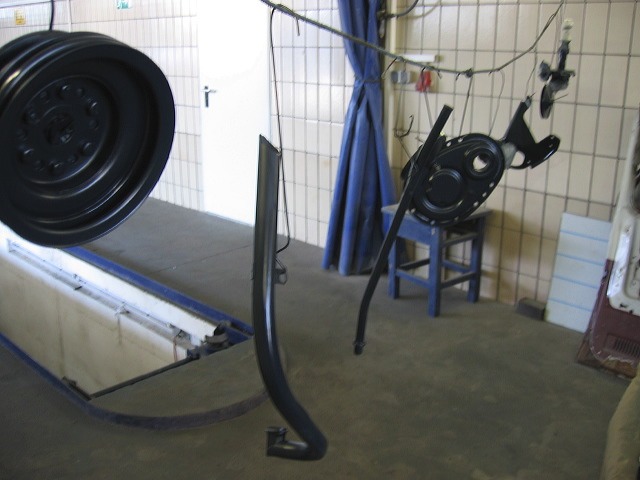
and even more parts that need some freshening up...
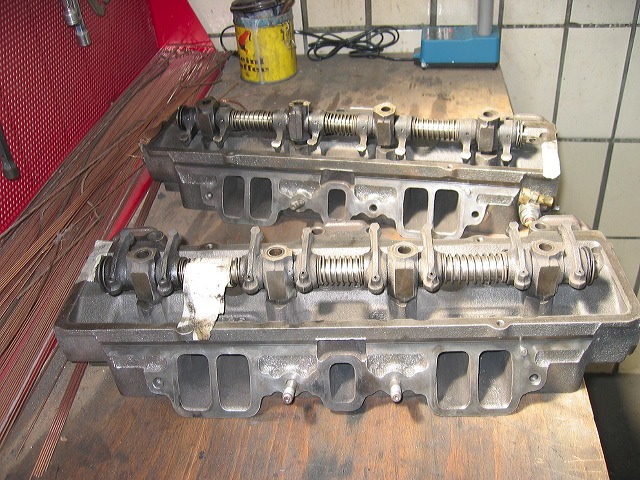
The cleaned heads.
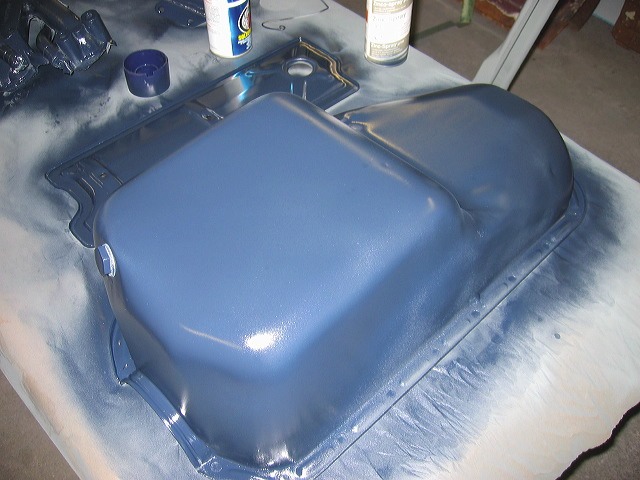
The painted oilpan
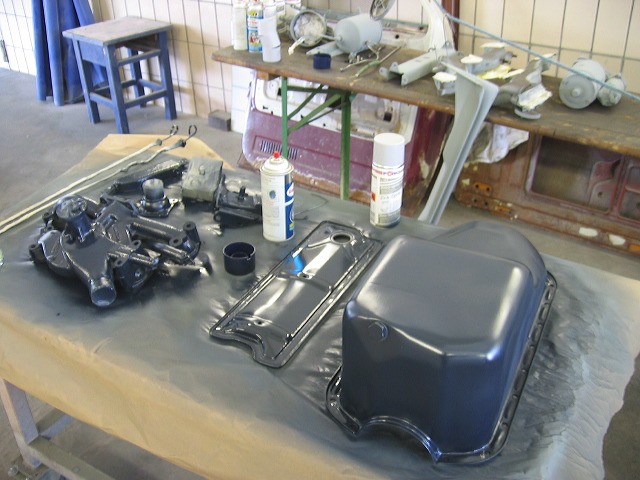
Some more painted parts
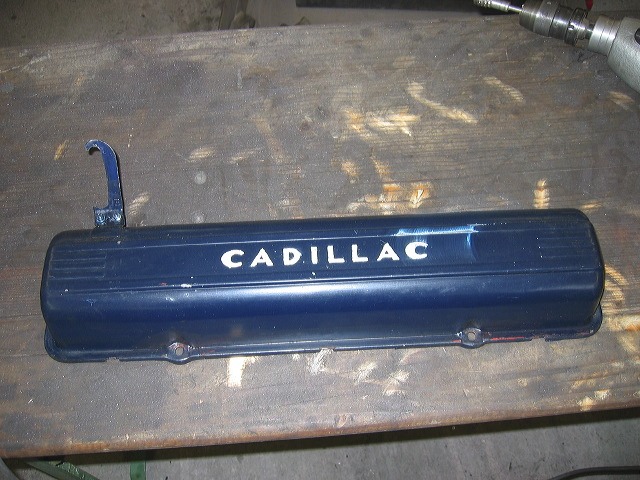
First coat of Cadillac blue paint
The cleaned parts before they got the first shot of primer.
Washing the block with gasoline.
Some more parts that need attention
Afra helps me cleaning!
Its a dirty work to wirebrush all these old parts
...and after wirebrushing
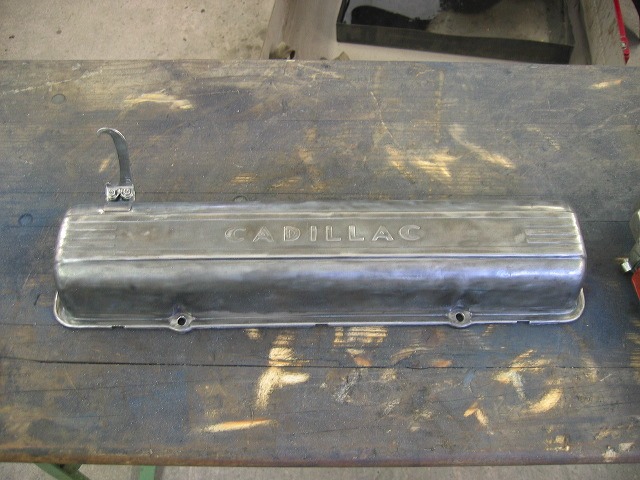
the incorrectly painted valve cover before...
... and after wirebrushing
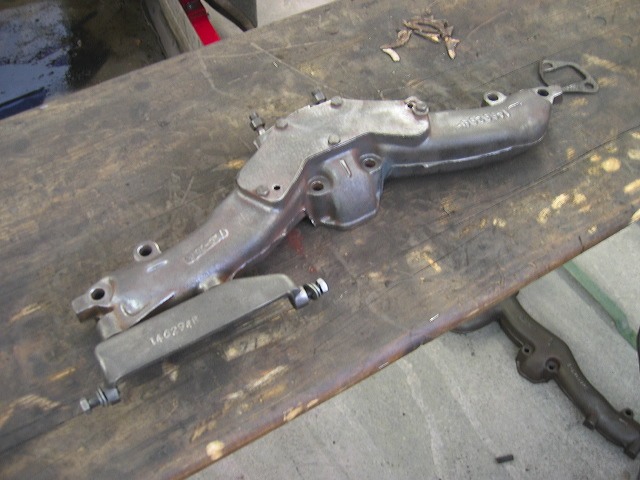
The other header before....
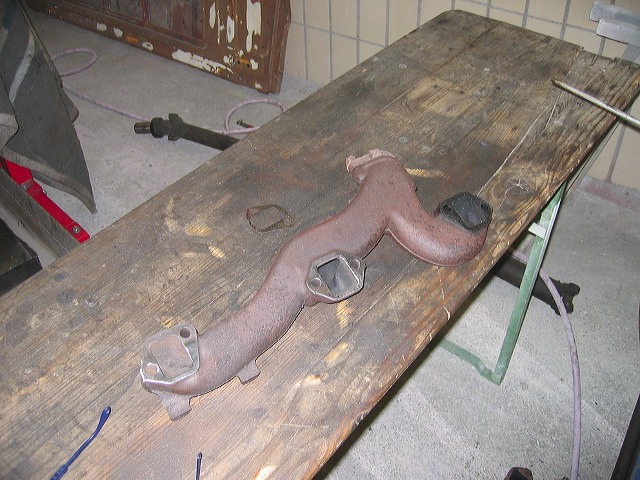
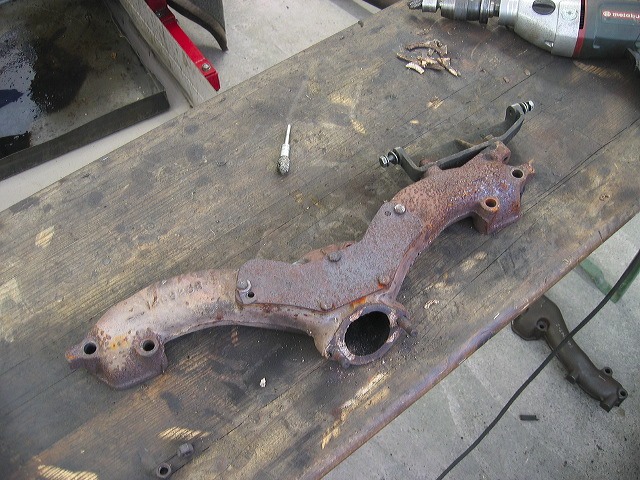
The header before it was wirebrushed to bare metal.
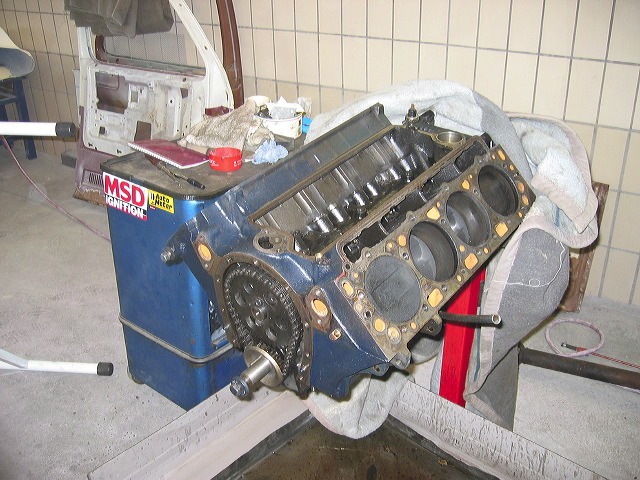
The block.
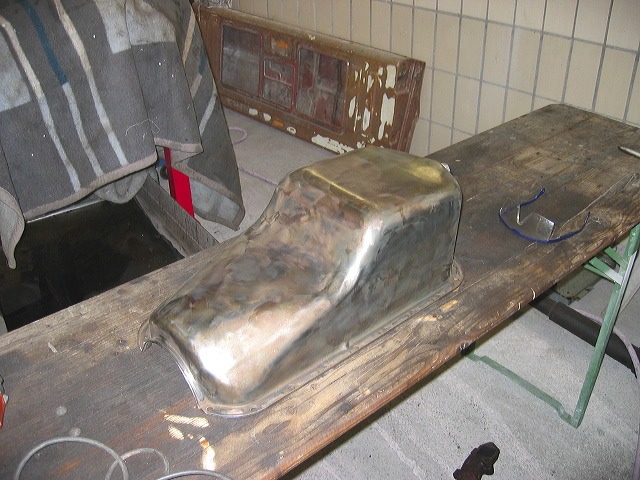
The oil pan after the paint was removed.
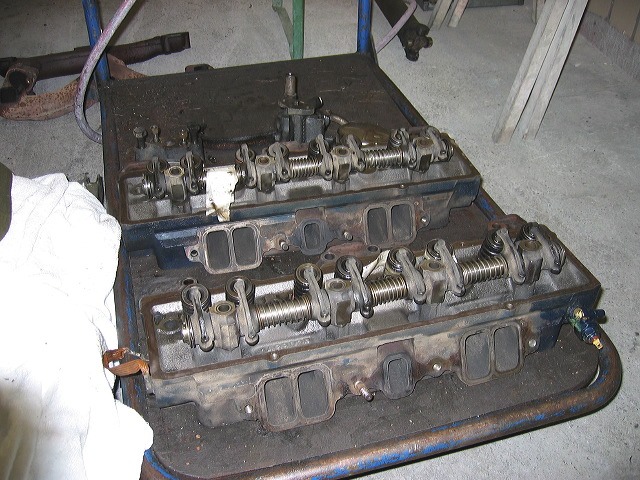
The heads.
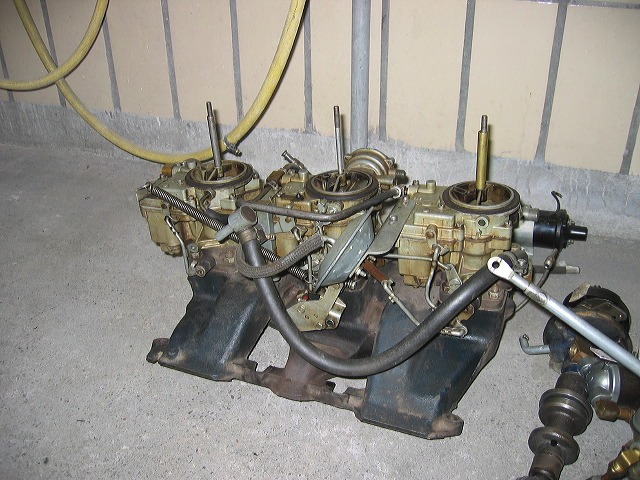
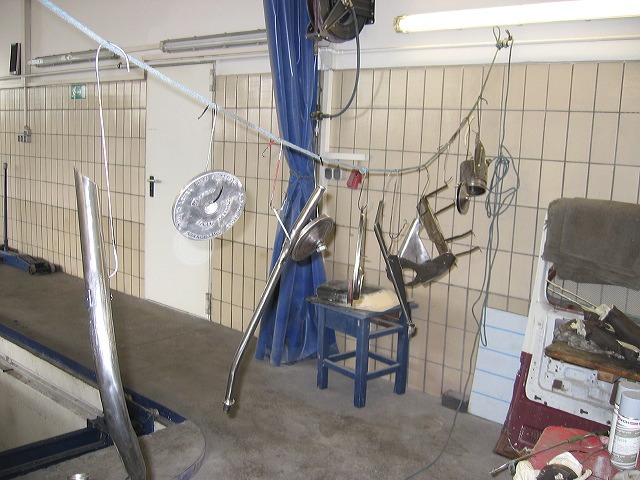
The tri carb setup, before the cleaning.
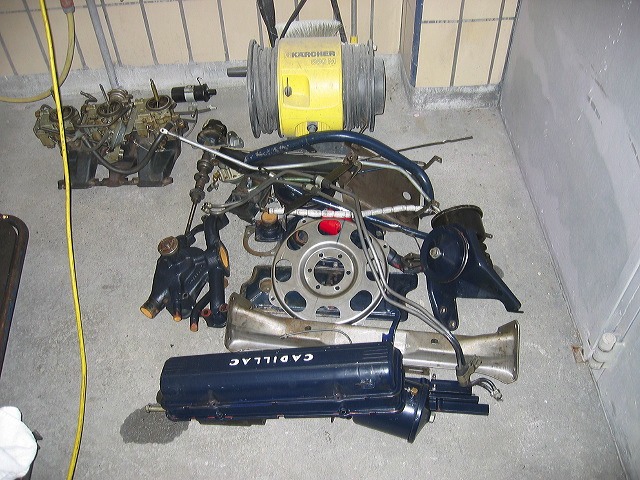
Most parts of the engine bay are out and ready to be restored.

The trunkpulldown also was repaired - this is a "before" picture
the freshly painted engine bay and firewall
the freshly painted engine bay and firewall
the freshly painted engine bay and firewall
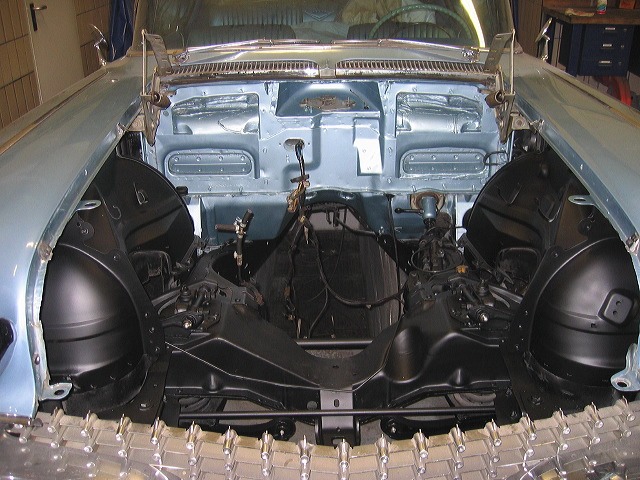
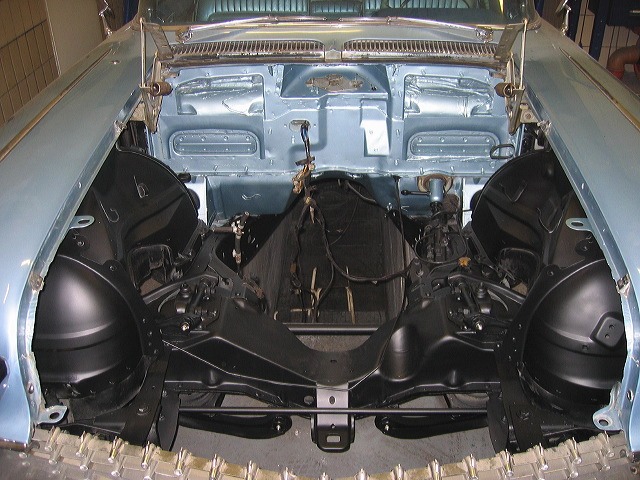
The freshly painted engine bay and firewall. The blue is a perfect match with the cars original color and the rest of the paint. (Argyle Blue)
Looks good!!
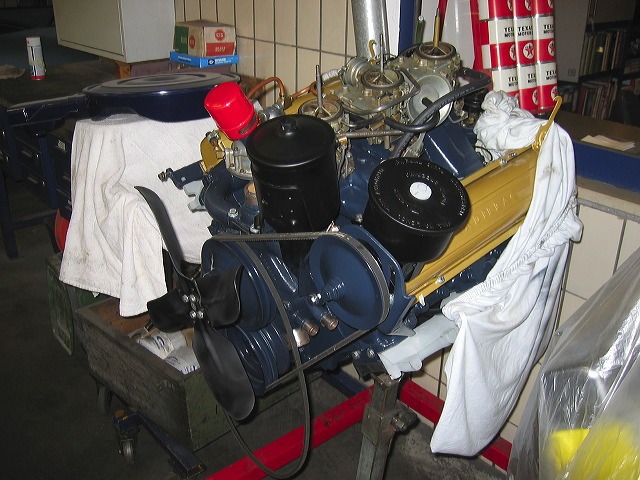
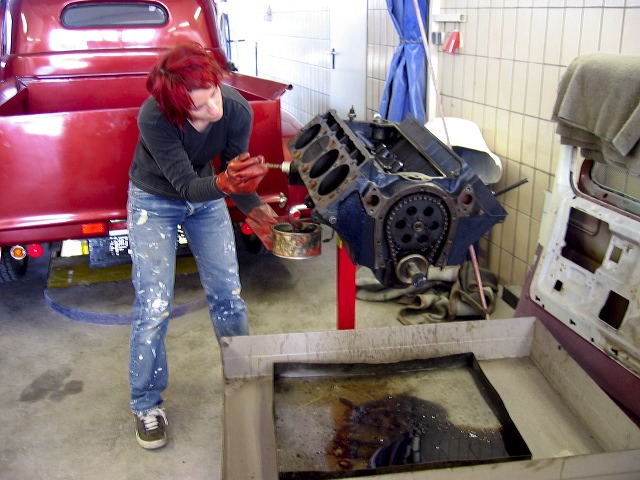
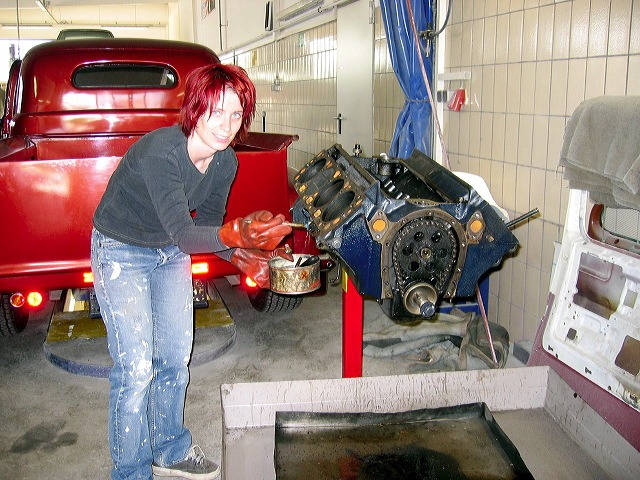
The engine waiting to be reimplanted
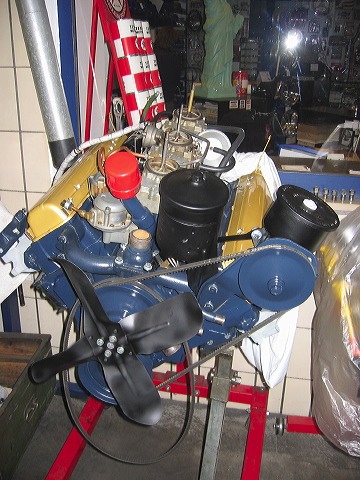
The almost finished engine. Everything was taken care of. If you see any parts that should be in another color please let me know!
gerald@f-stop.at
Under the car...
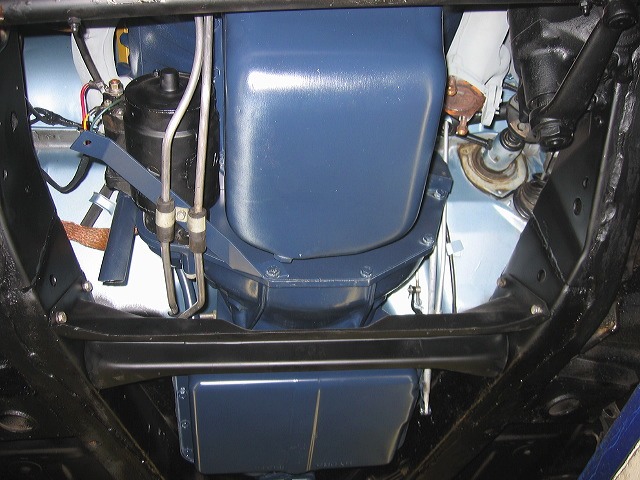
Under the car...
The hood is back on the car. The fenders had to be readjusted because they did no longer fit after the engine was dropped in after the rebuild...
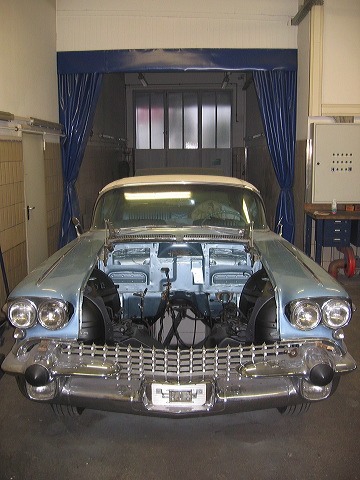
Finally the engine and transmission are back in the car! Looks good so far!

Finally the engine and transmission are back in the car! Looks good so far!
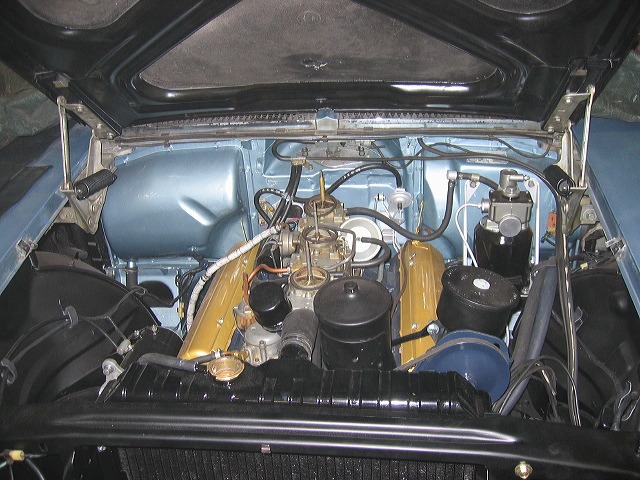
Finally the engine and transmission are back in the car!
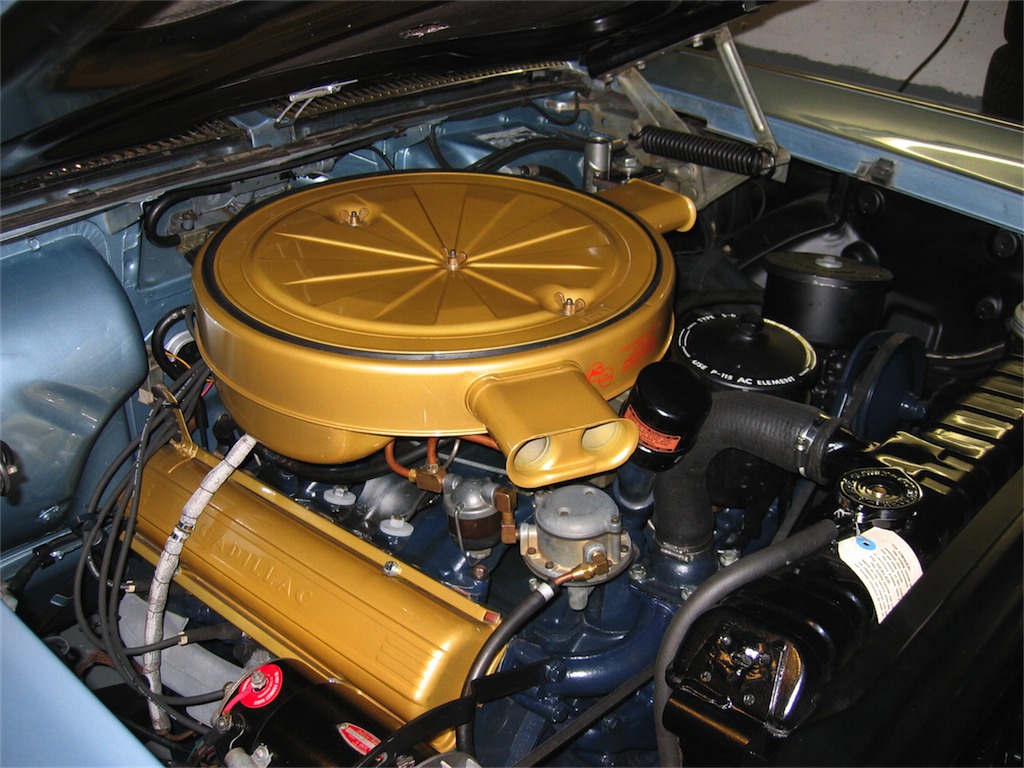
The finished engine!
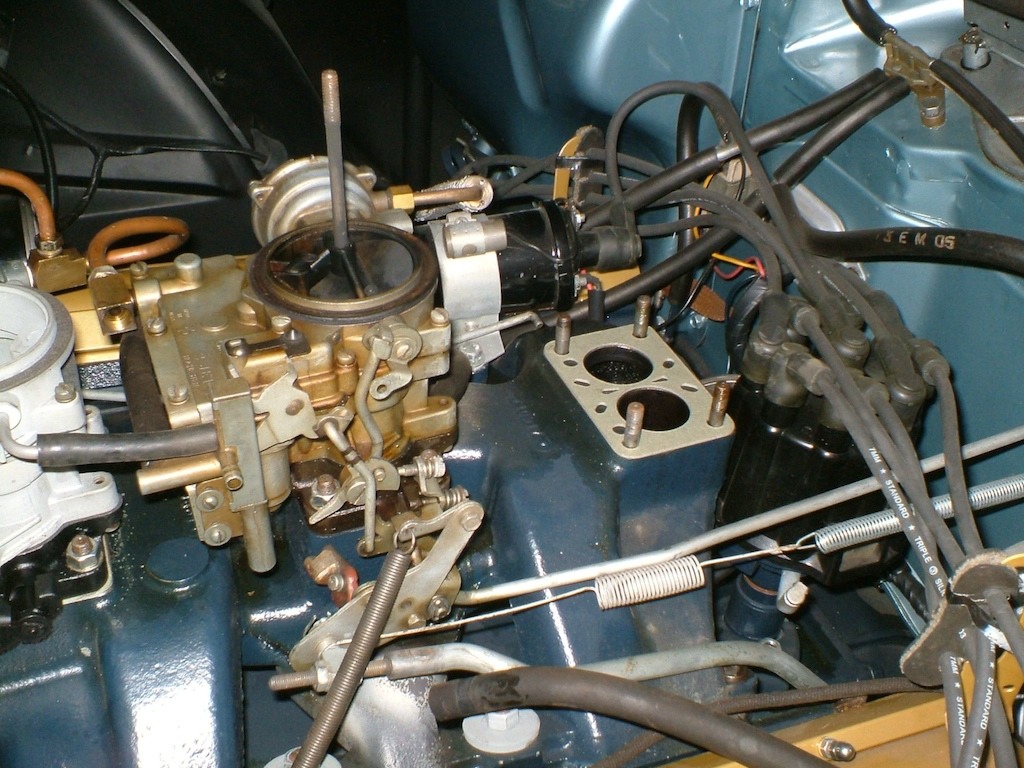
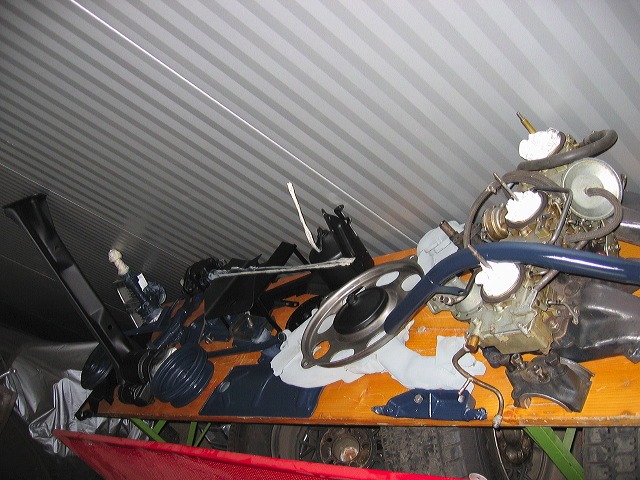
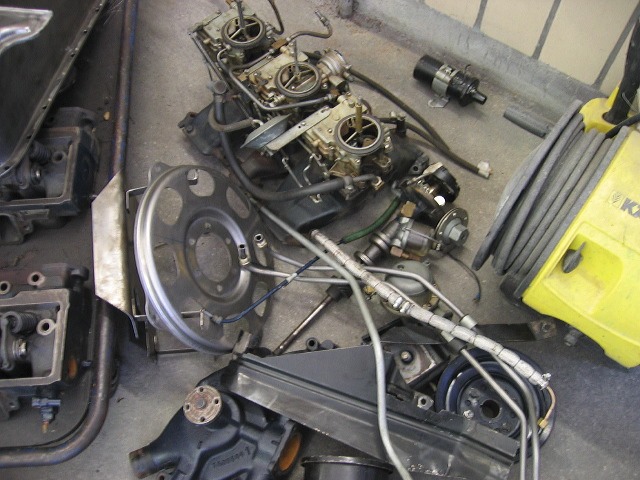
The tri-carburetor rebuild
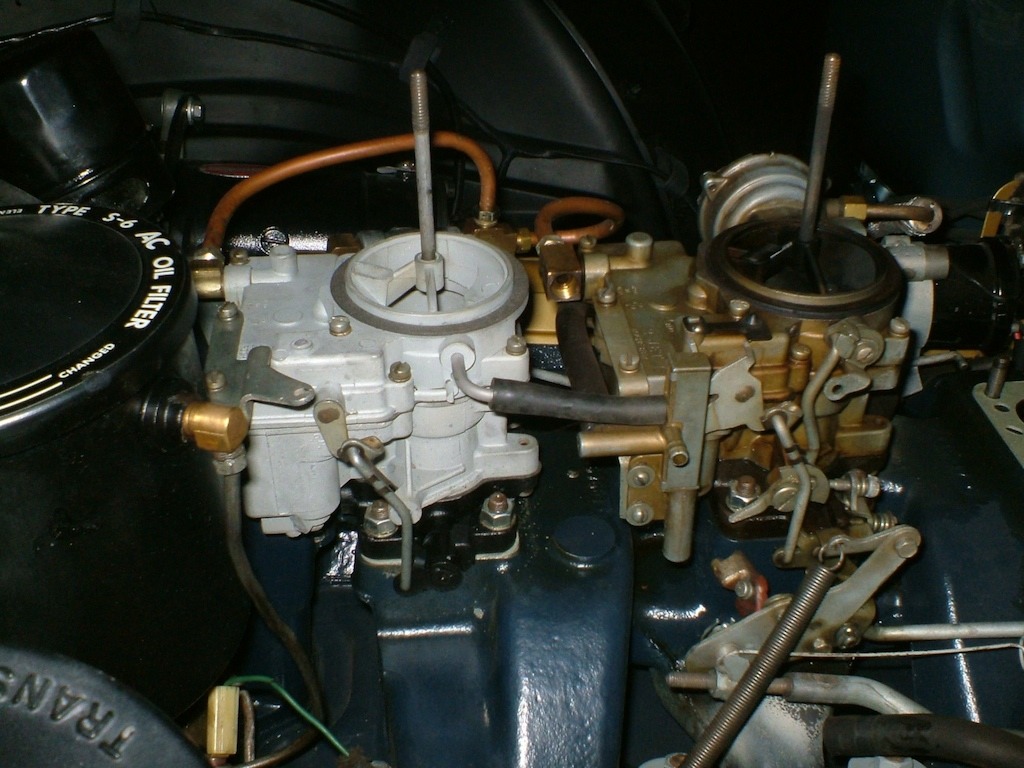
The tri-carburetor rebuild
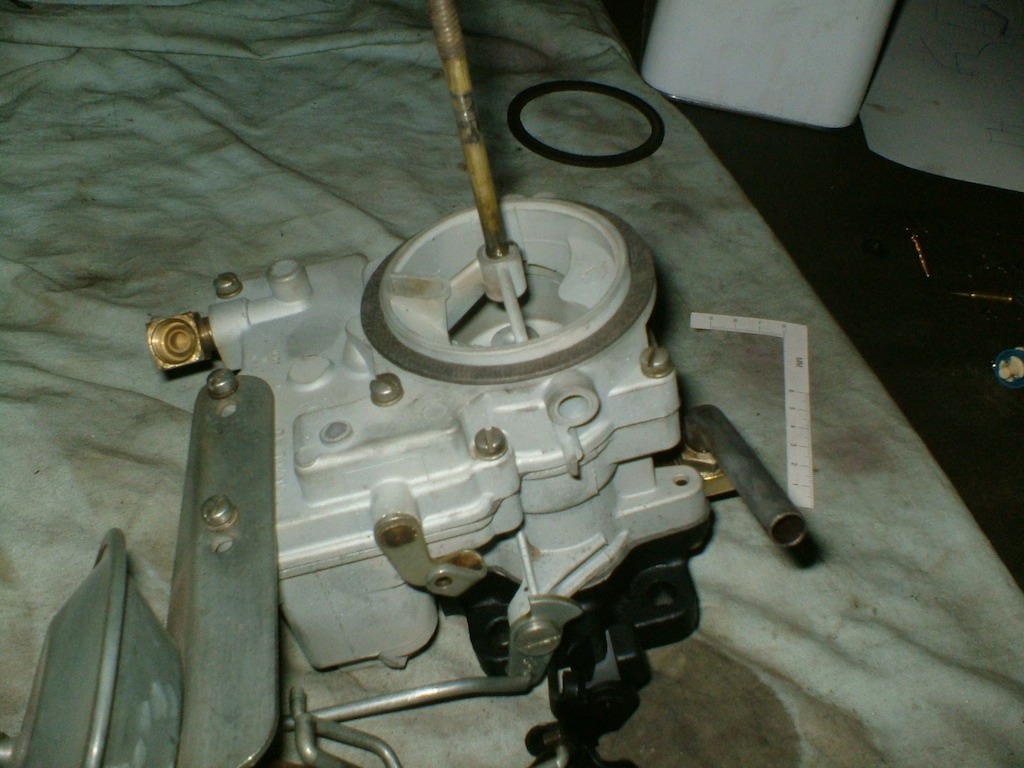
The tri-carburetor rebuild
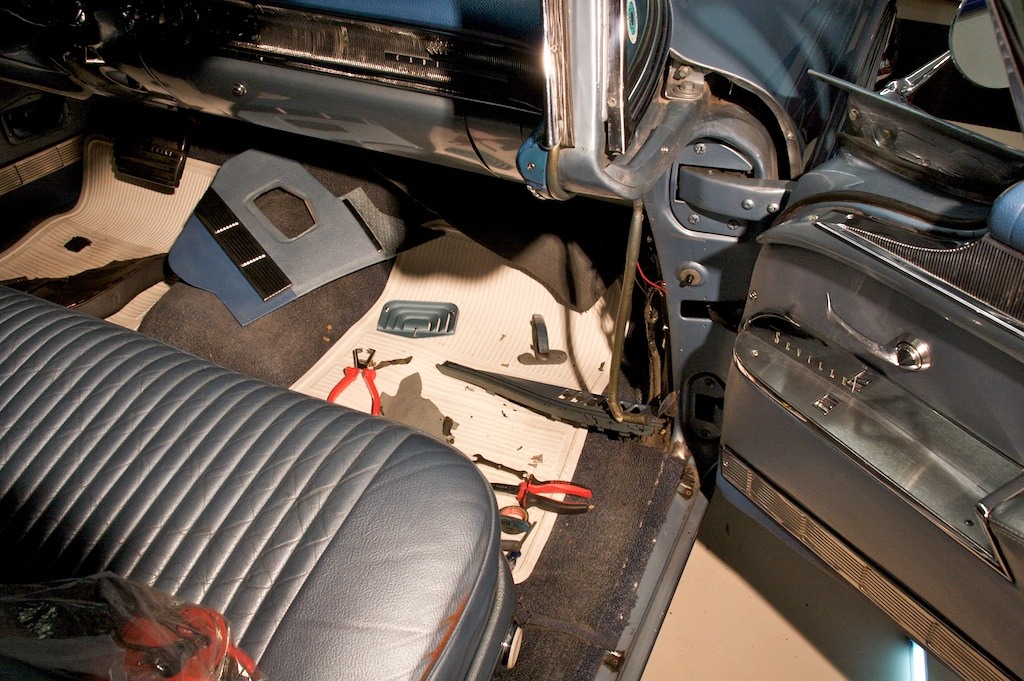
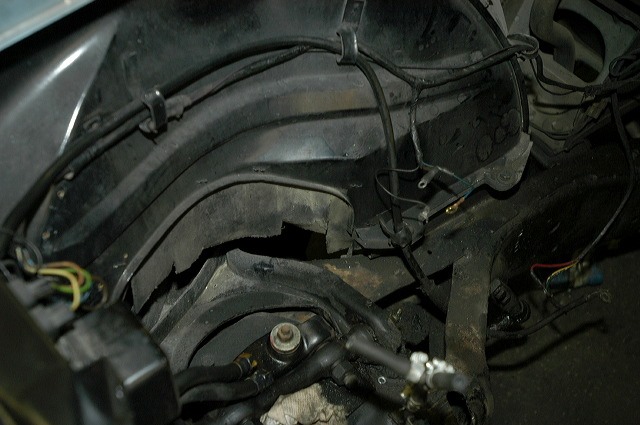
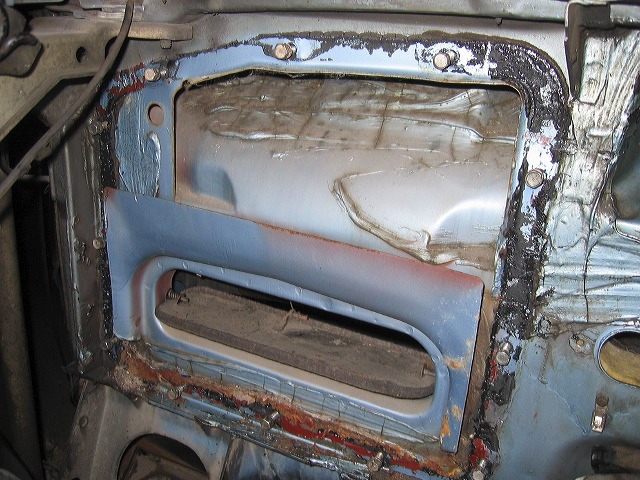
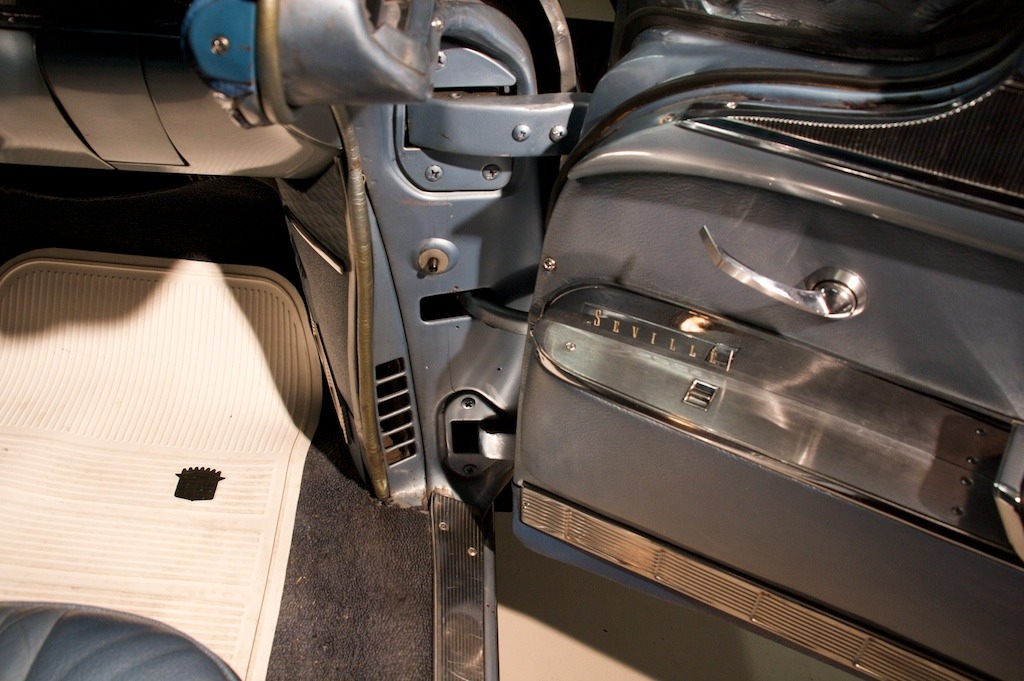
the wiring in the passenger side door gave me some trouble
most wires were broken due to all the bending in the door
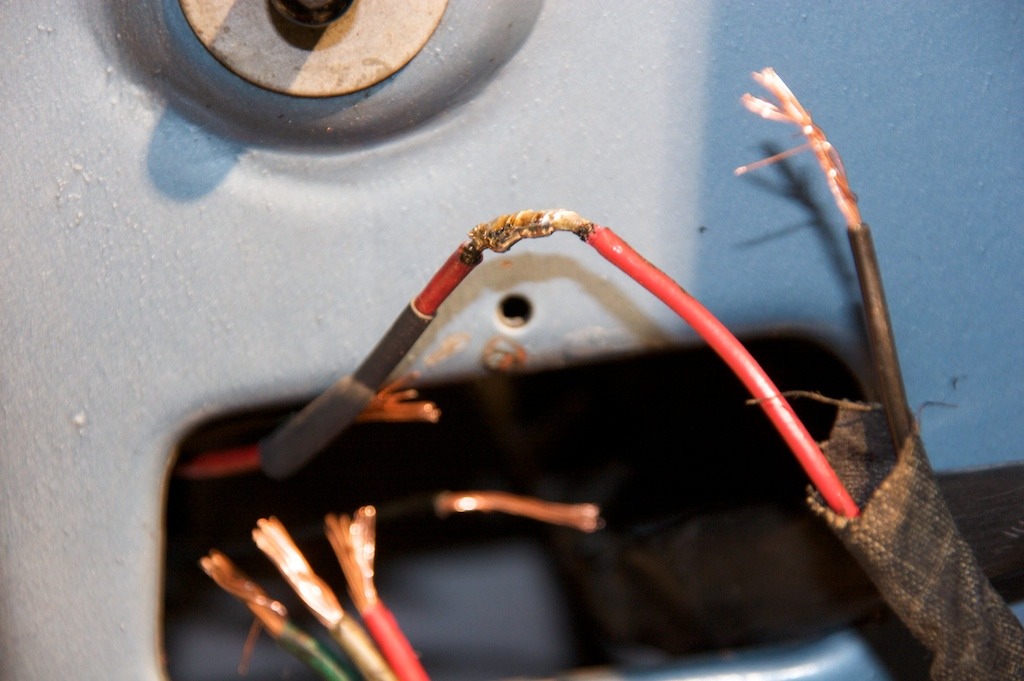
I soldered them back together and used heat shrink tubes for insulation
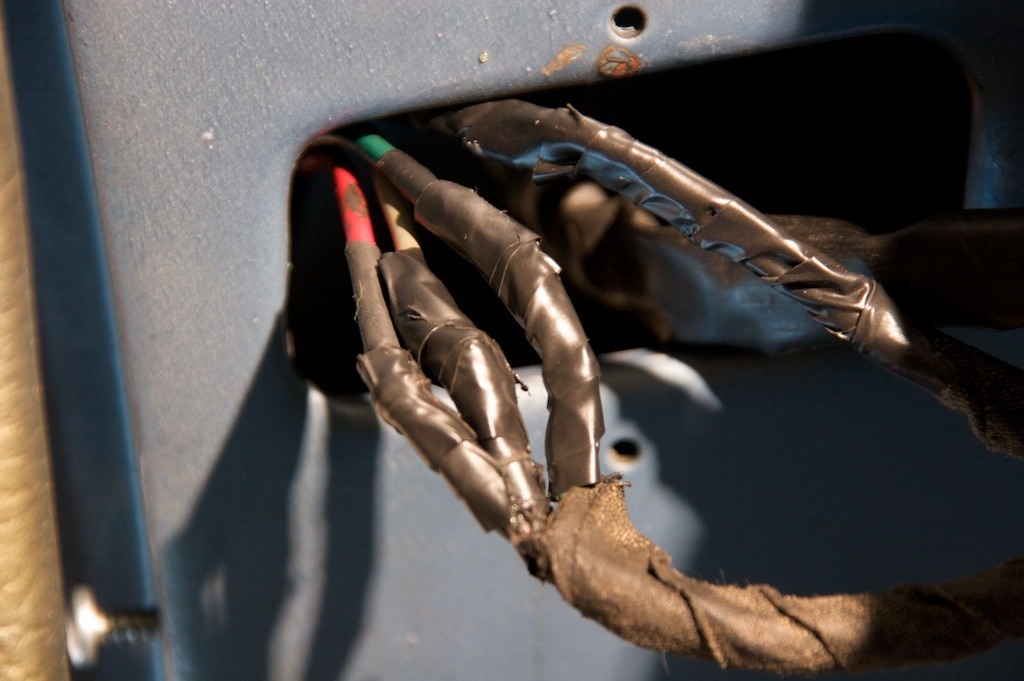
I soldered them back together and used heat shrink tubes for insulation
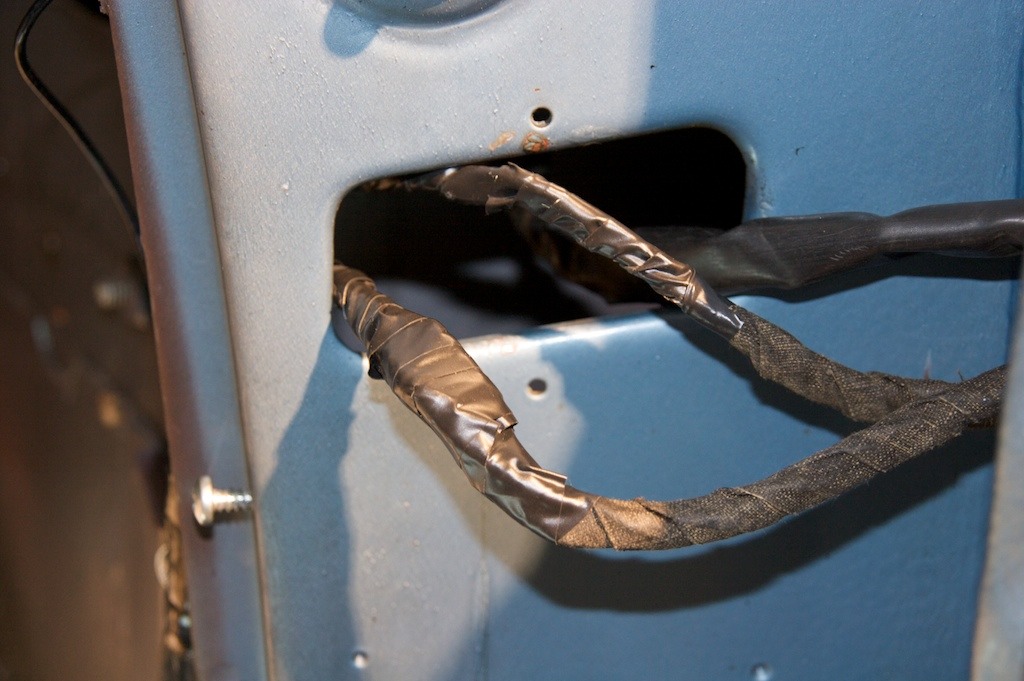
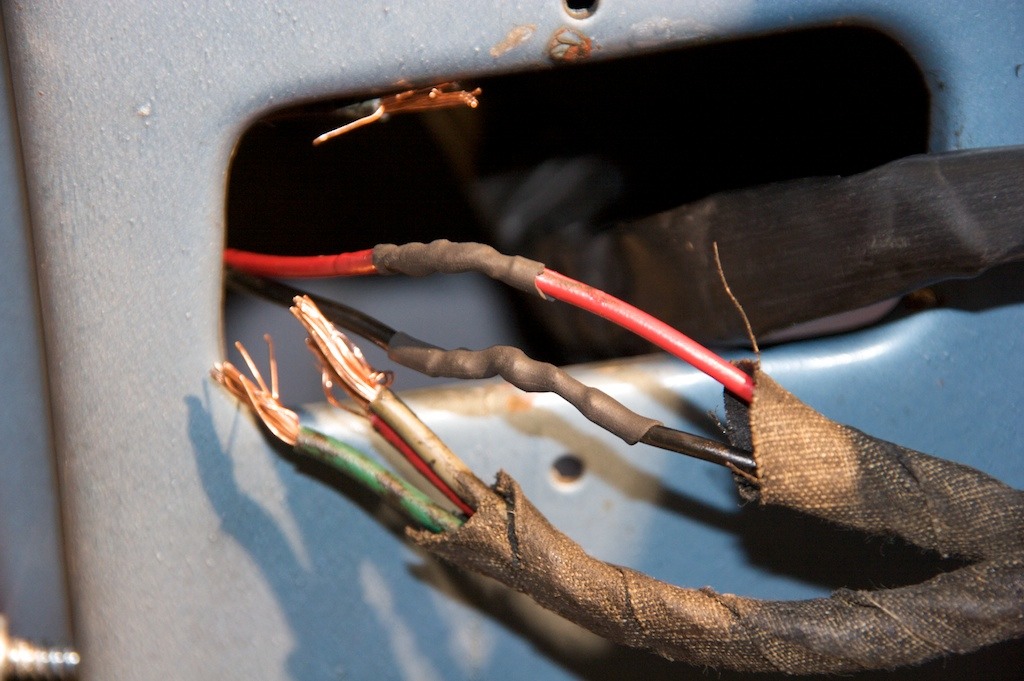
some more electric tape to make sure its well insulated
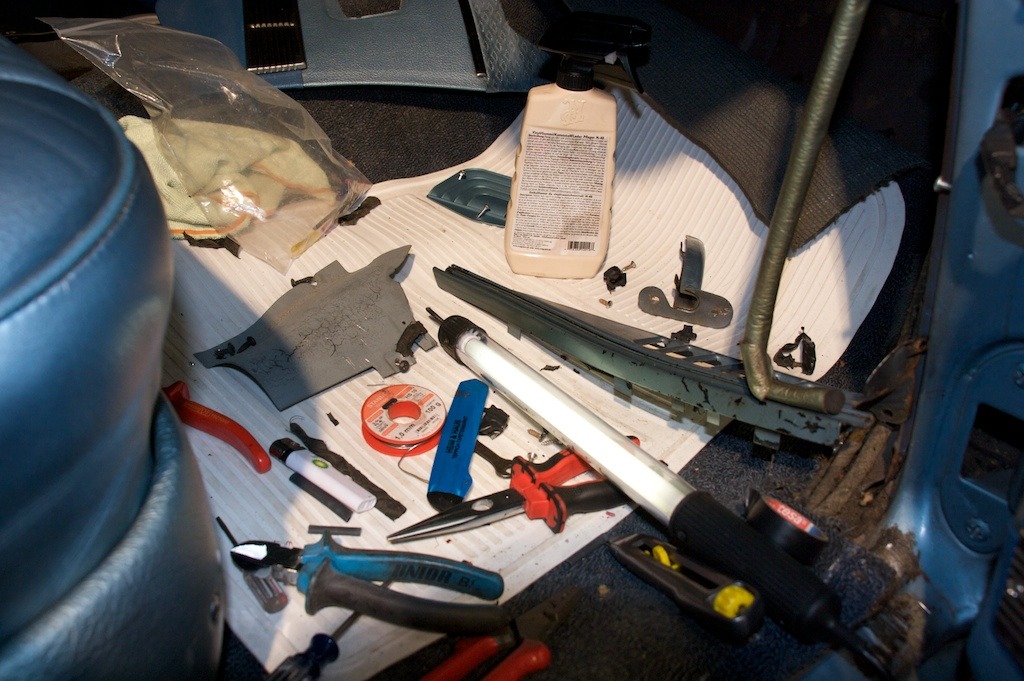
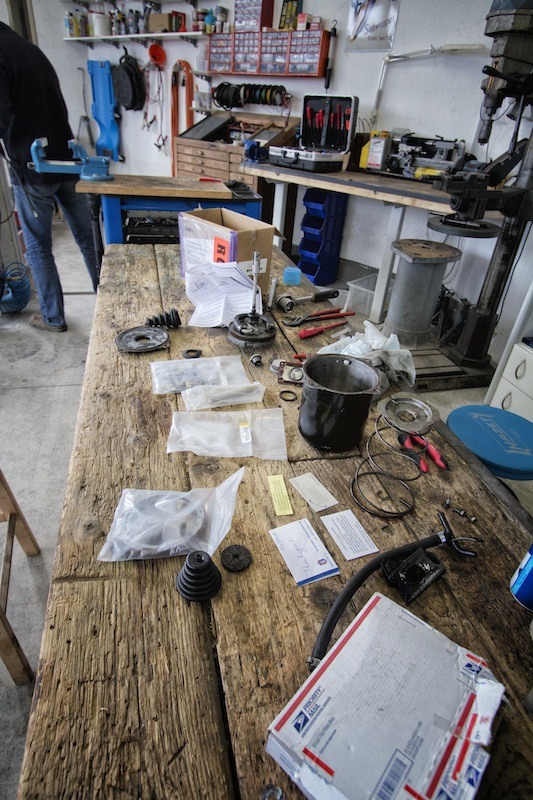
all the parts in the car with some tools...
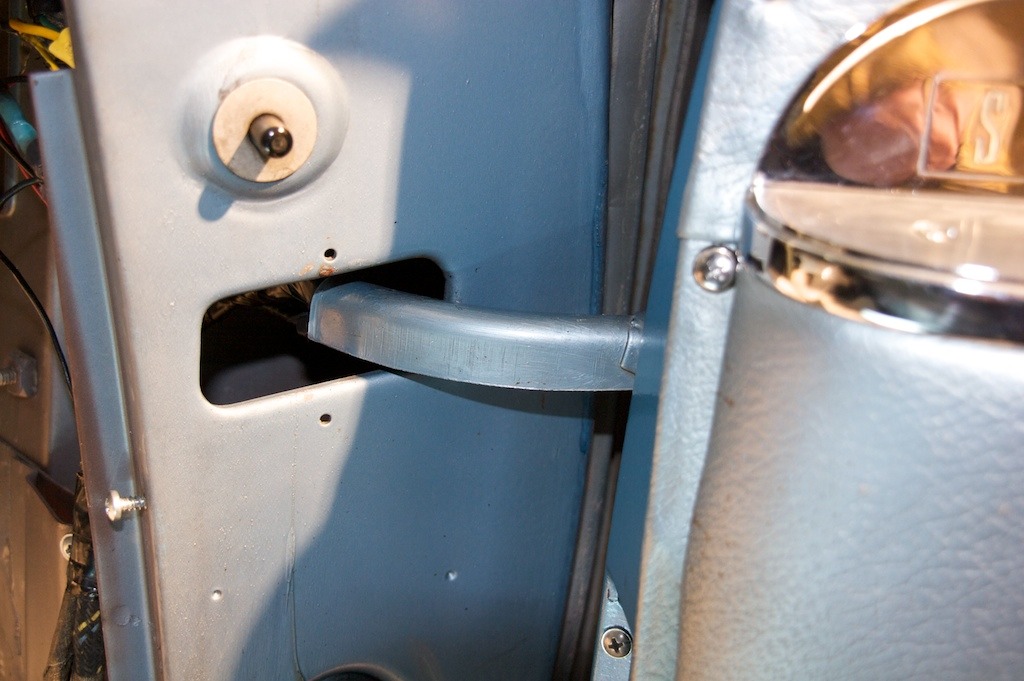
back together
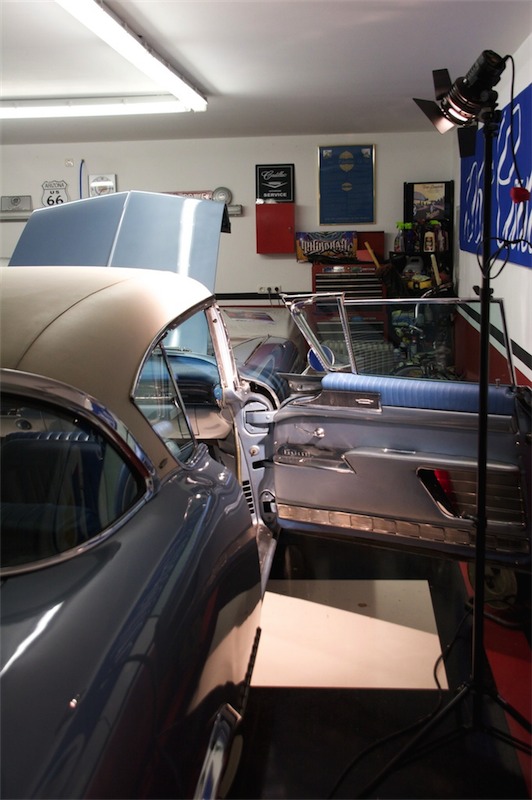
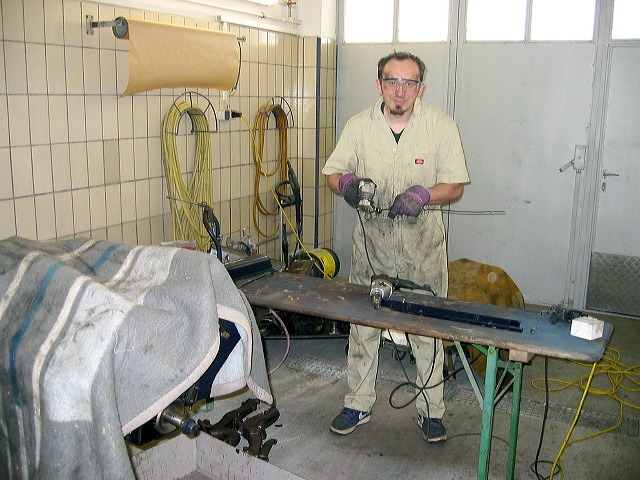
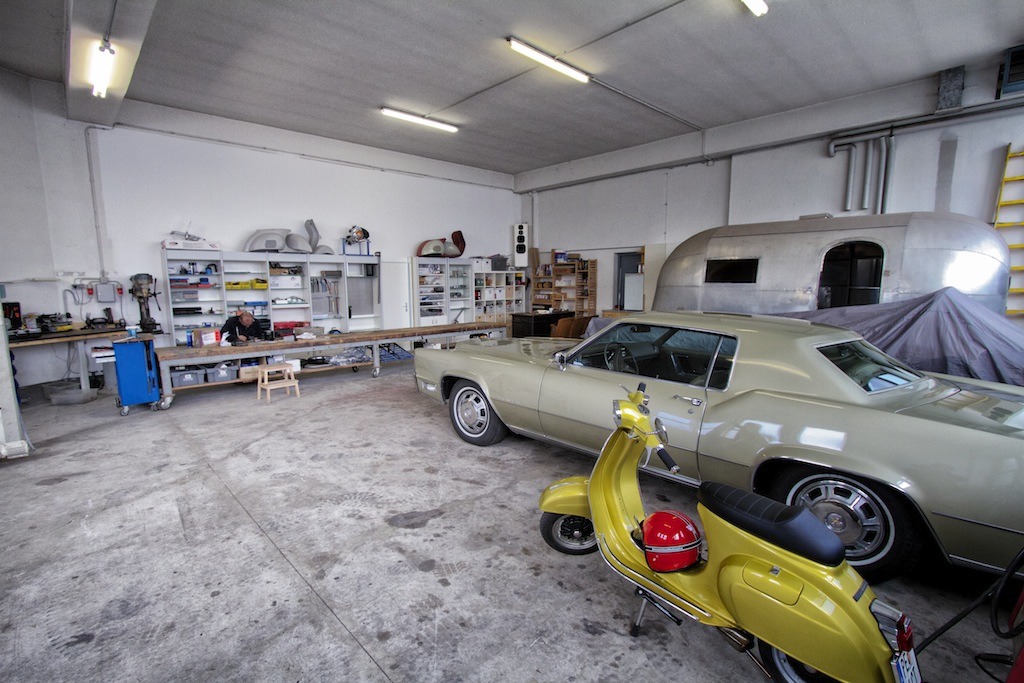
the working area in my garage
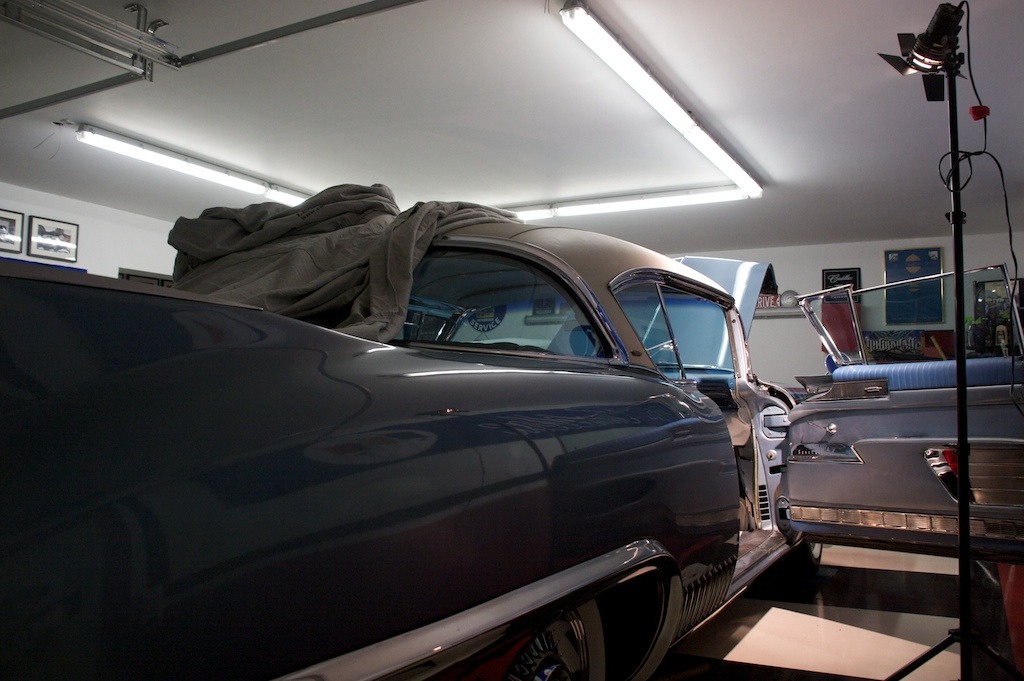
the working area in my garage
everything back together
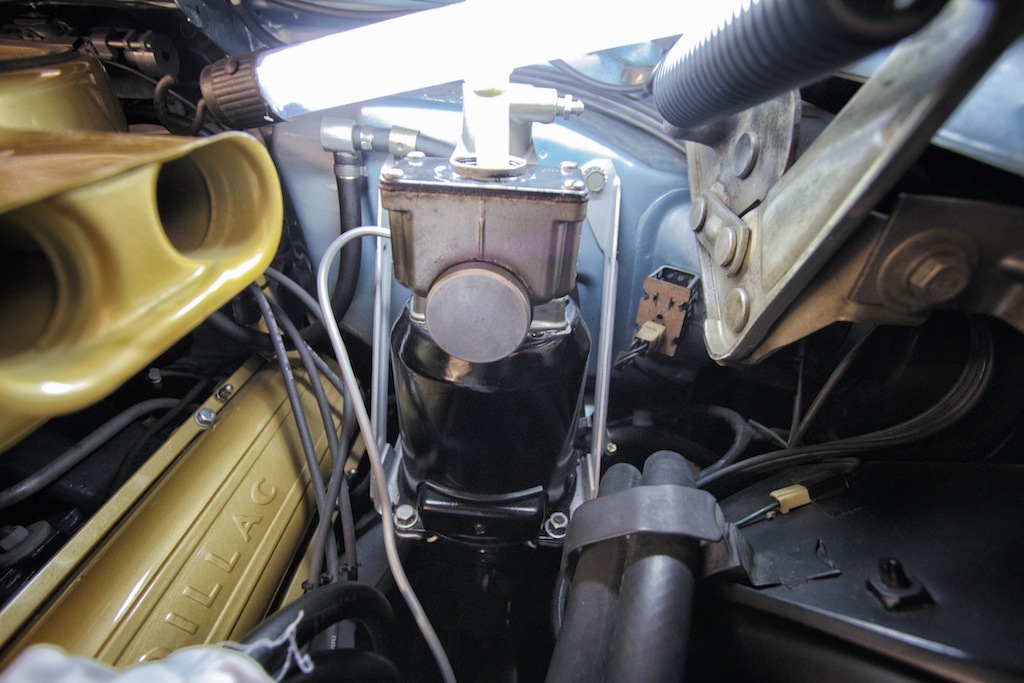
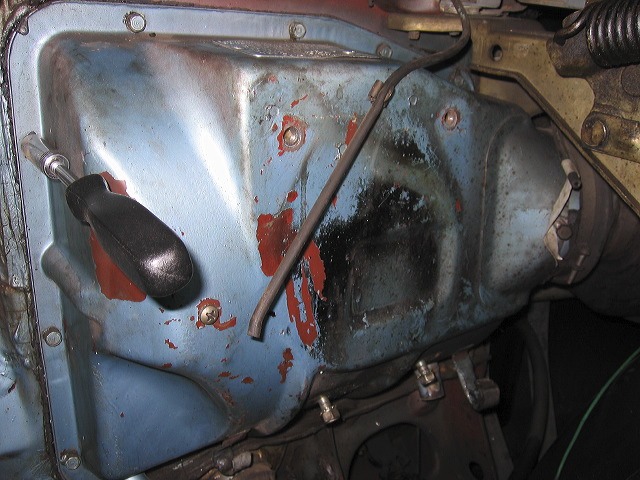
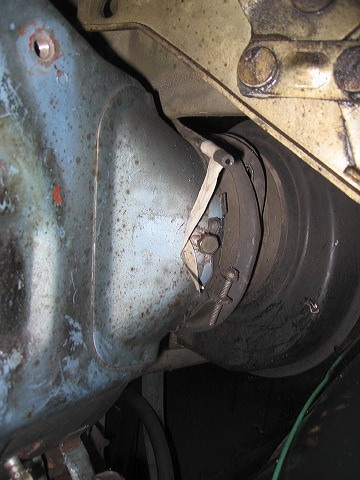
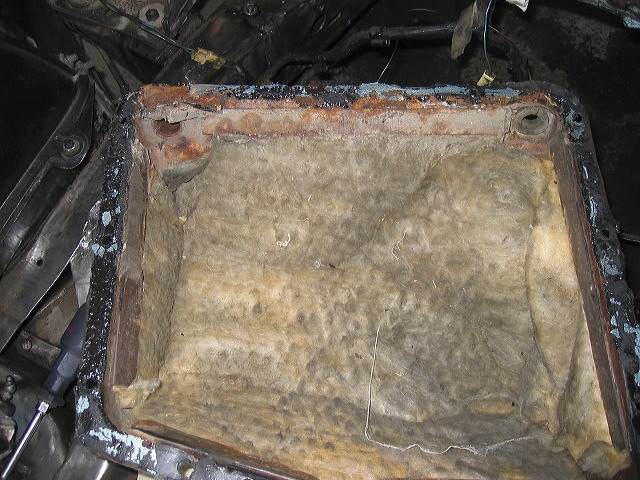
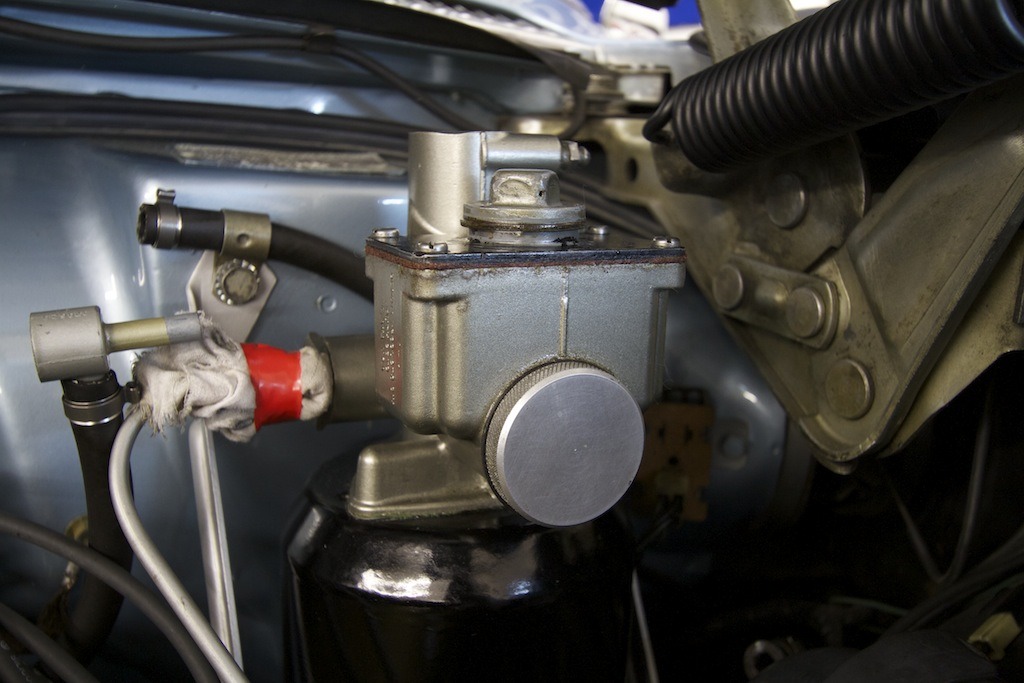
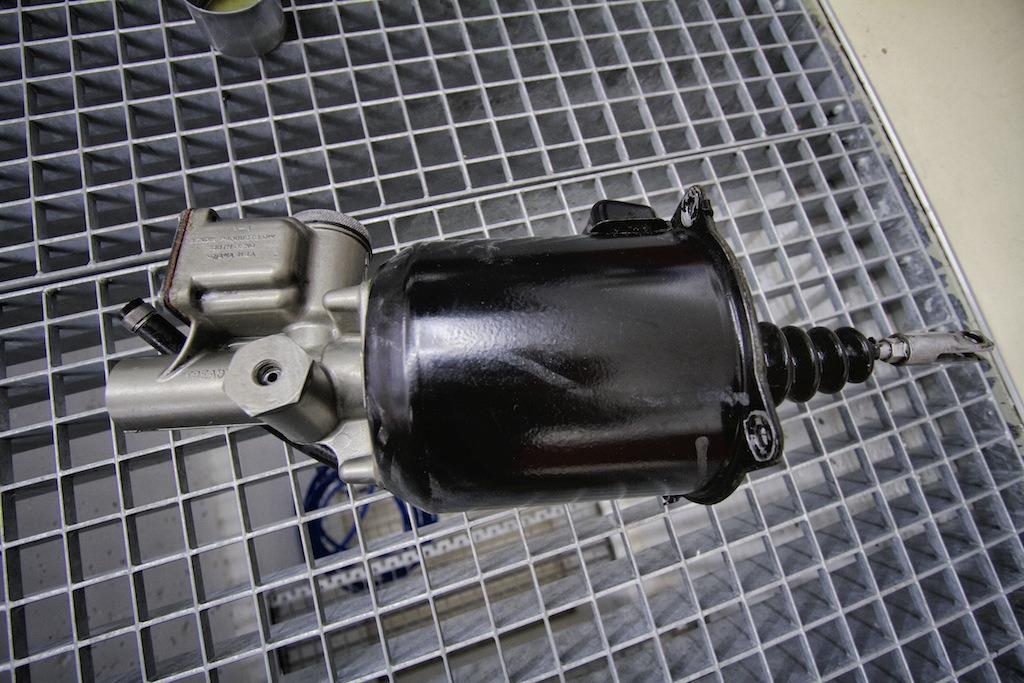
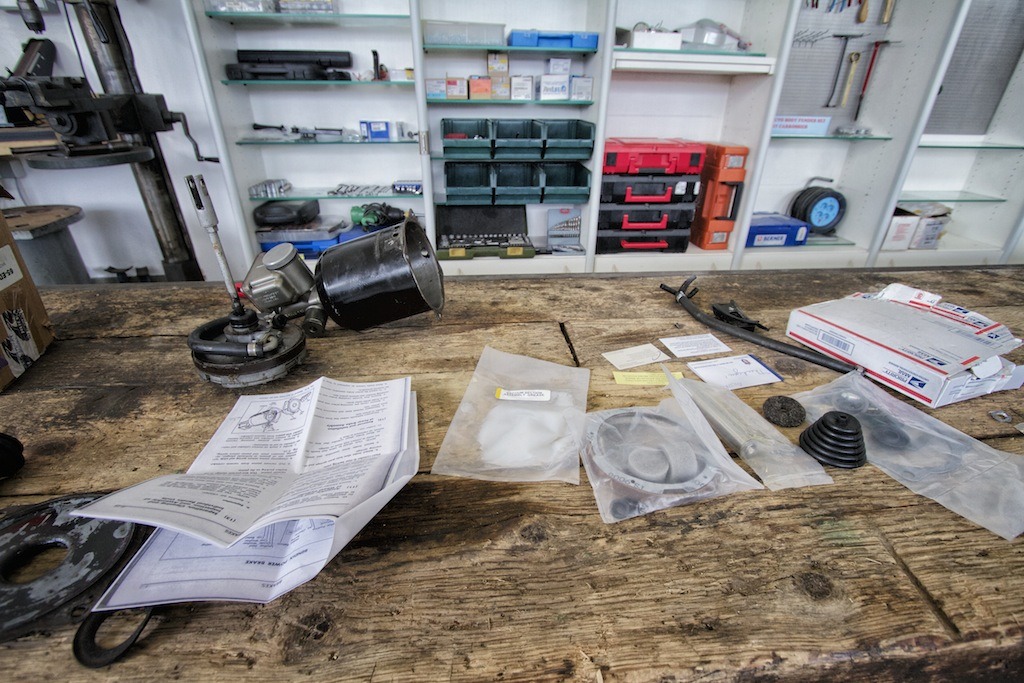
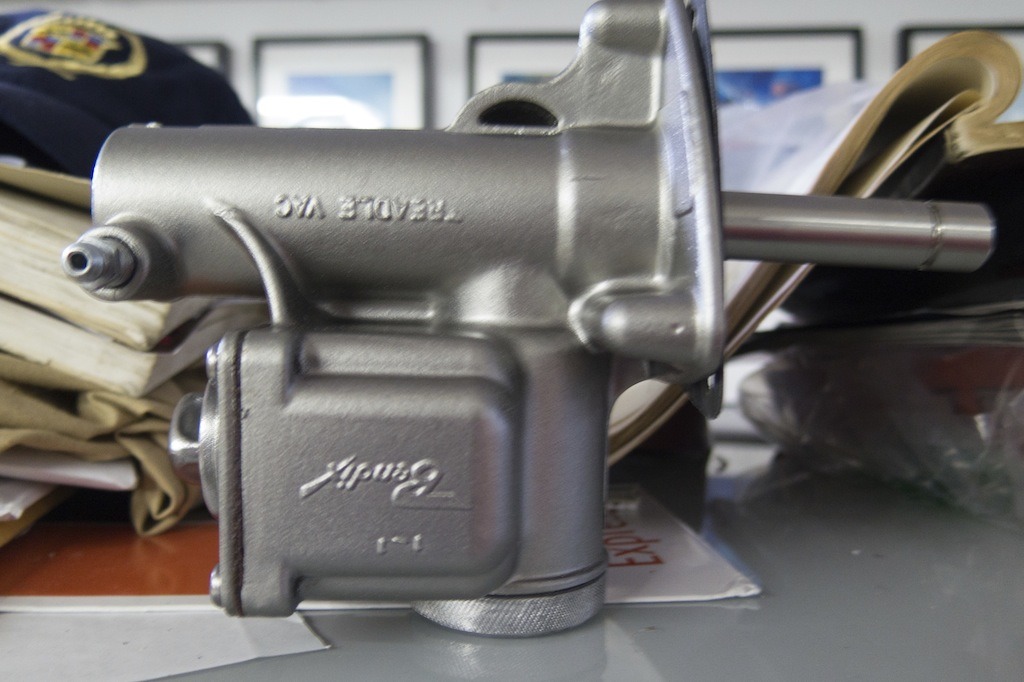
2013 - rebuilding the Bendix Treadle Vac unit
2013 - rebuilding the Bendix Treadle Vac unit
2013 - rebuilding the Bendix Treadle Vac unit
2013 - rebuilding the Bendix Treadle Vac unit
2013 - rebuilding the Bendix Treadle Vac unit
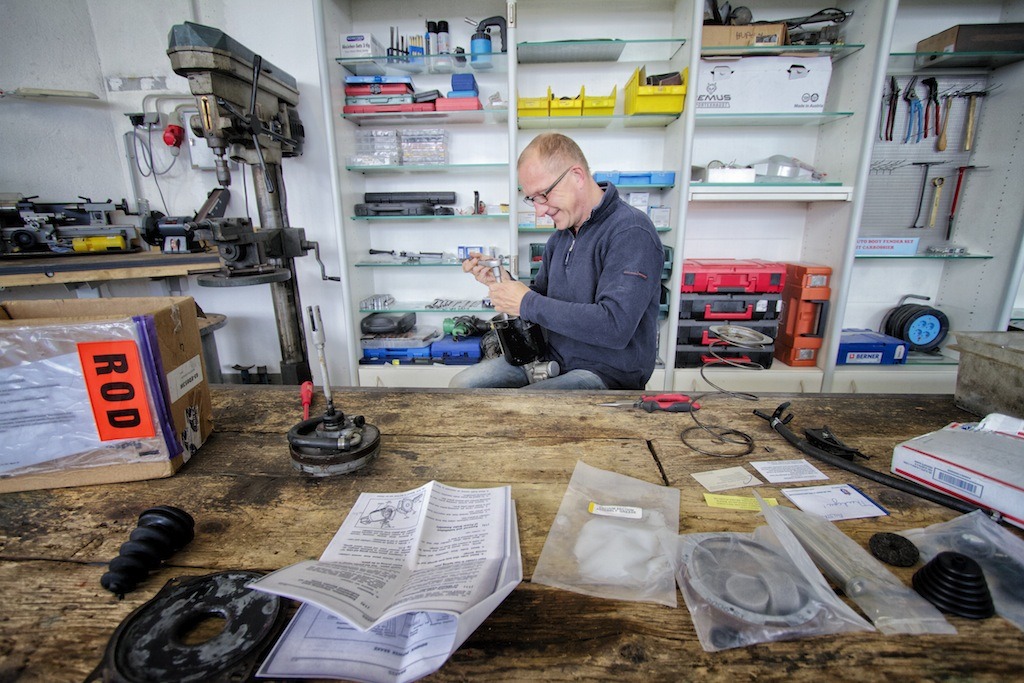
2013 - rebuilding the Bendix Treadle Vac unit
2013 - rebuilding the Bendix Treadle Vac unit
2013 - rebuilding the Bendix Treadle Vac unit
2013 - rebuilding the Bendix Treadle Vac unit
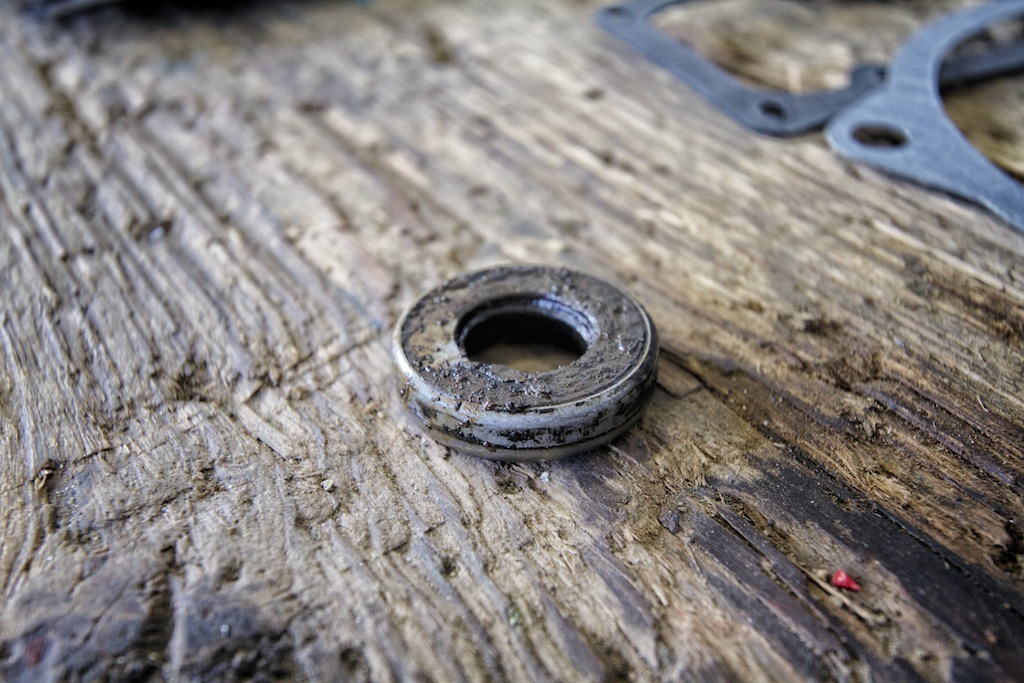
2013 - rebuilding the Bendix Treadle Vac unit
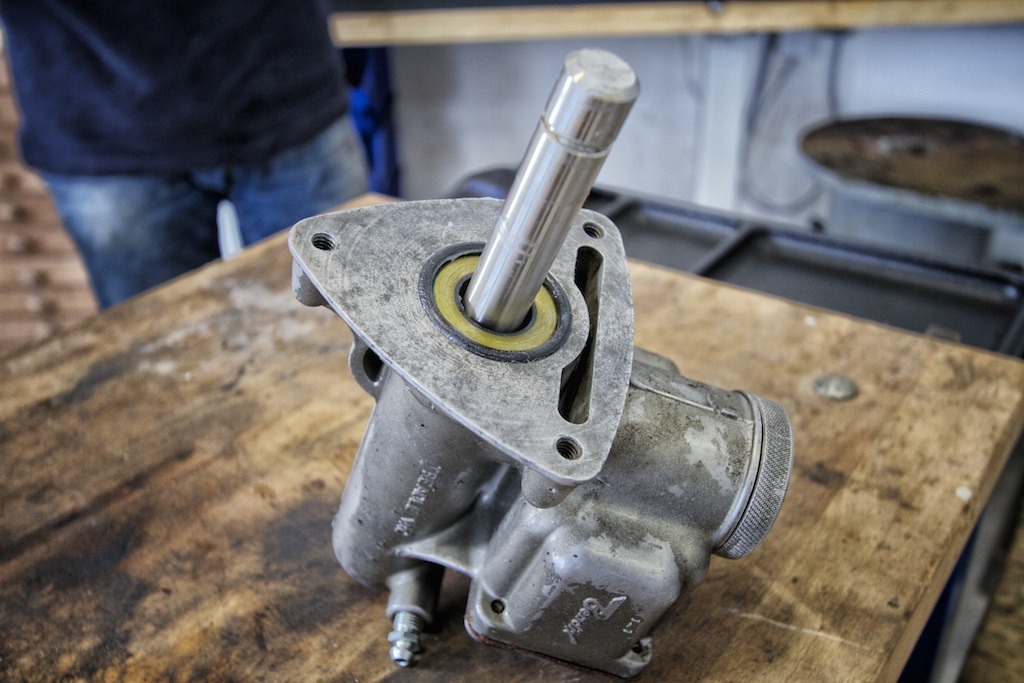
2013 - rebuilding the Bendix Treadle Vac unit
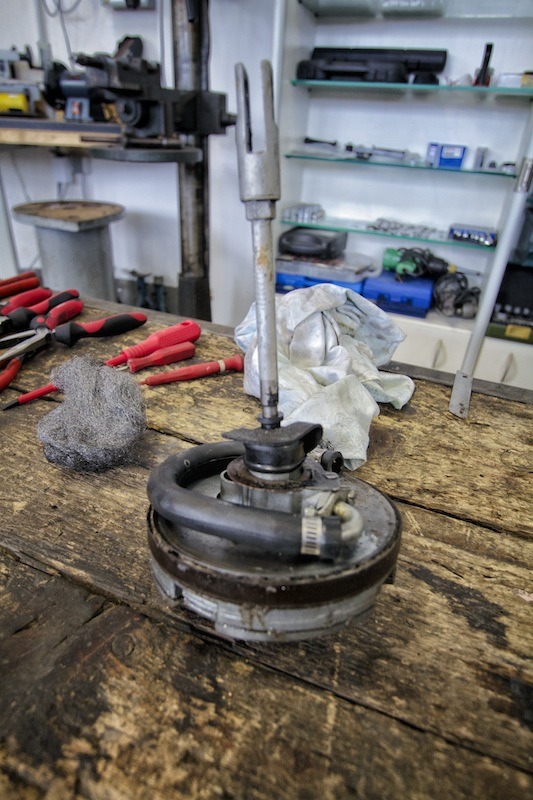
2013 - rebuilding the Bendix Treadle Vac unit
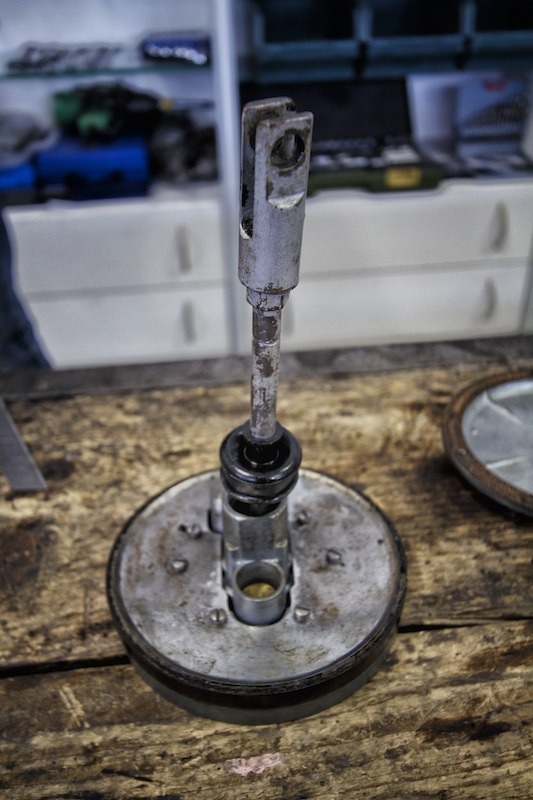
2013 - rebuilding the Bendix Treadle Vac unit
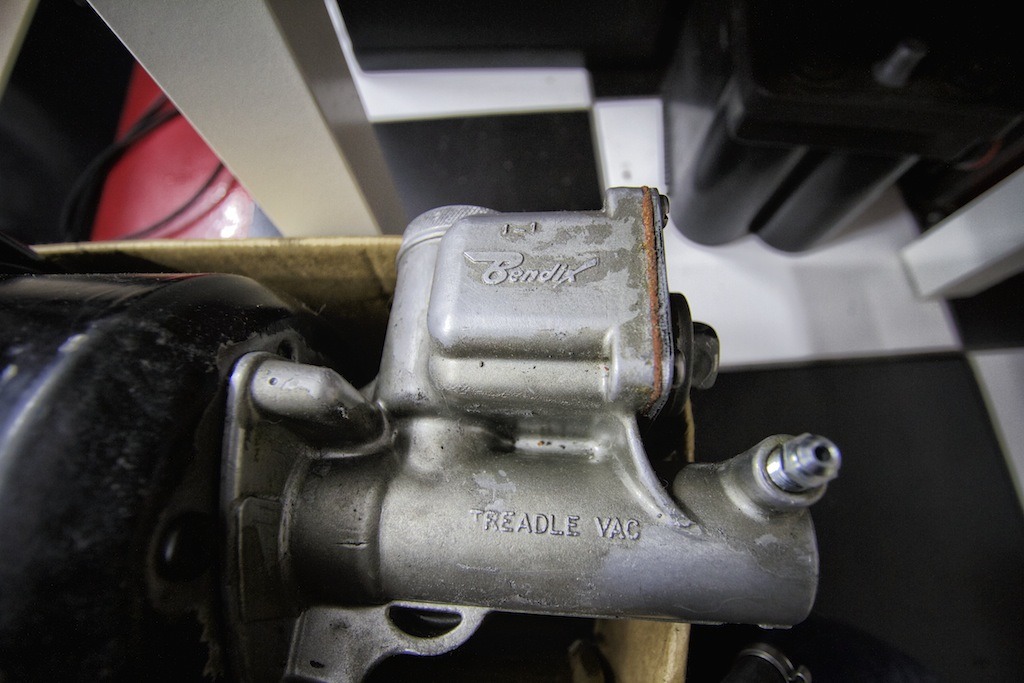
2013 - rebuilding the Bendix Treadle Vac unit
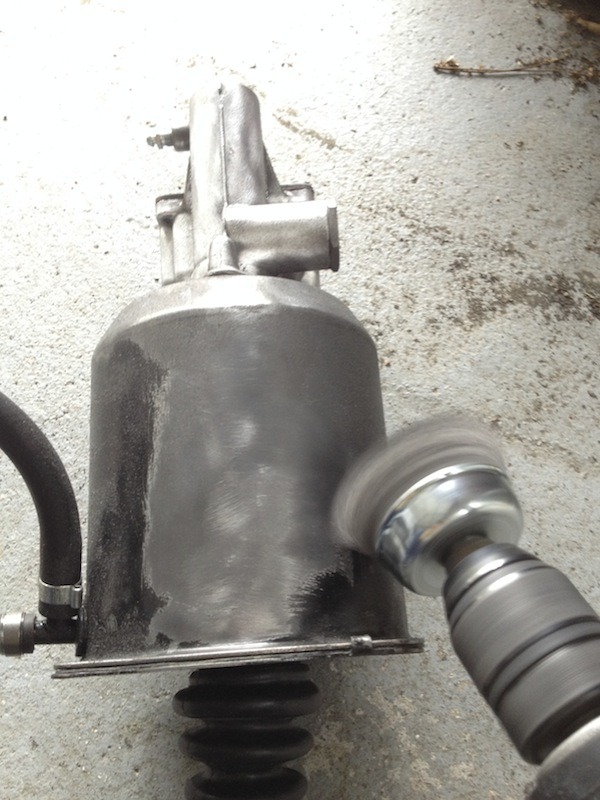
2013 - rebuilding the Bendix Treadle Vac unit
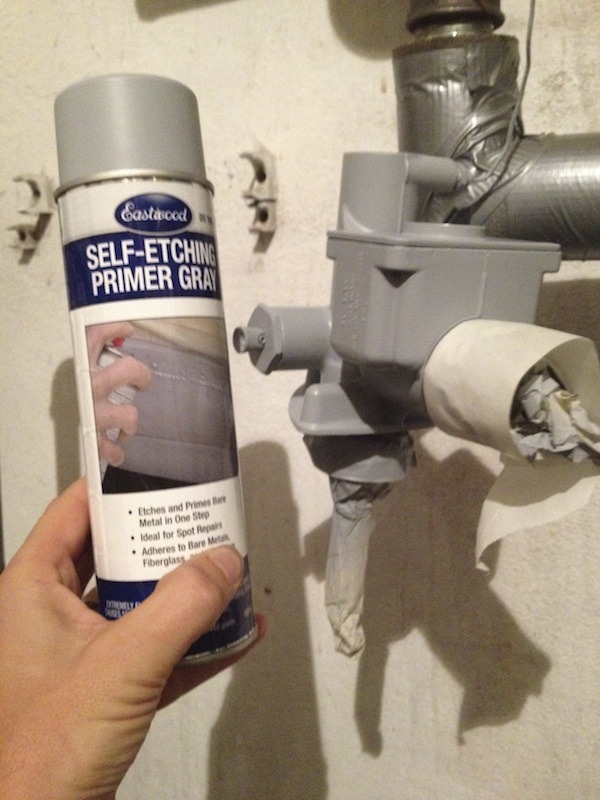
2013 - rebuilding the Bendix Treadle Vac unit
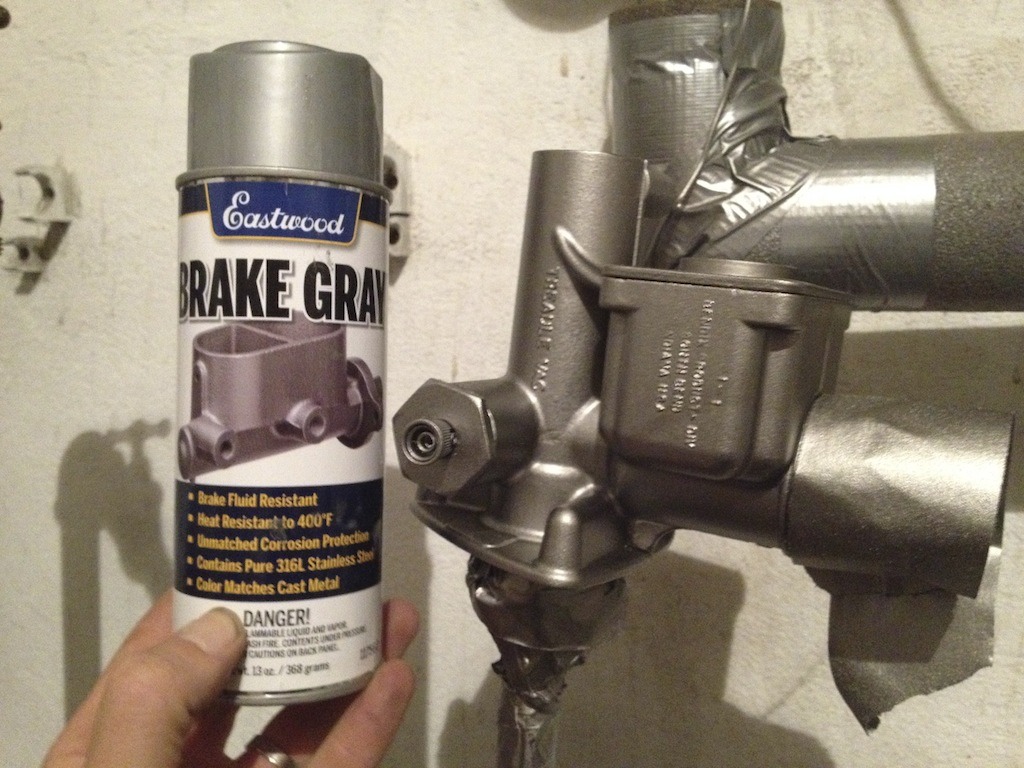
2013 - rebuilding the Bendix Treadle Vac unit
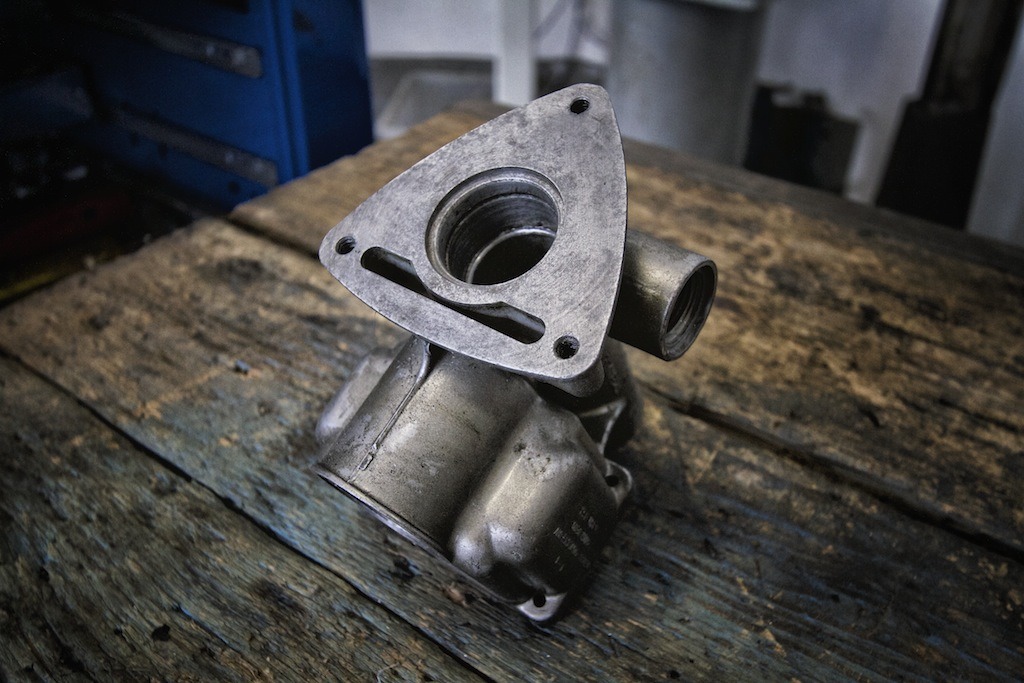
the master cylinder after painting
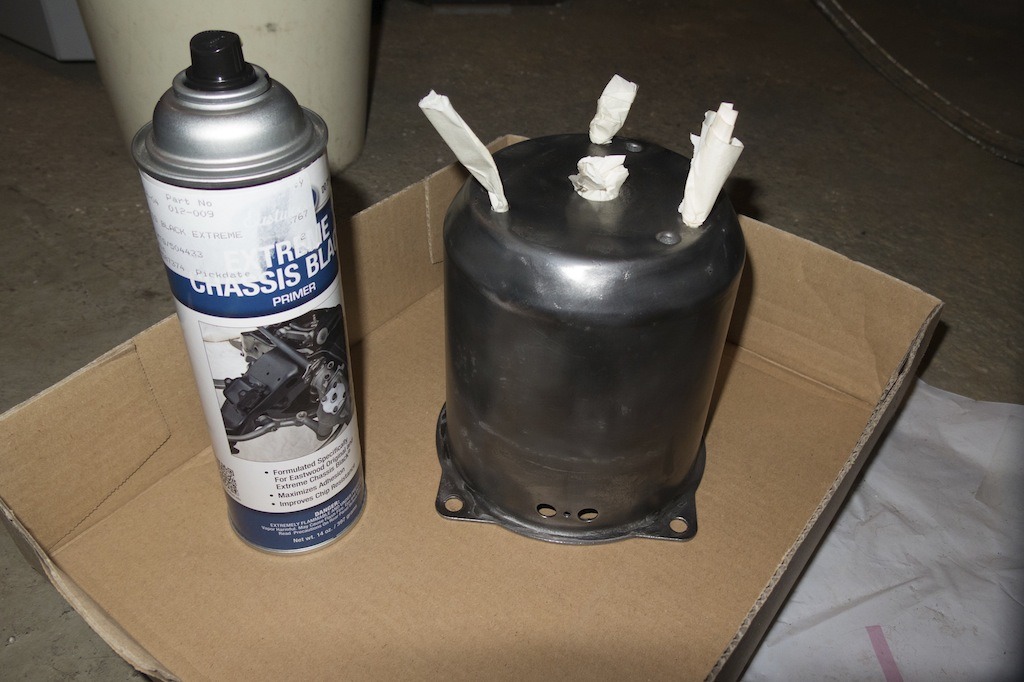
bare metal respray
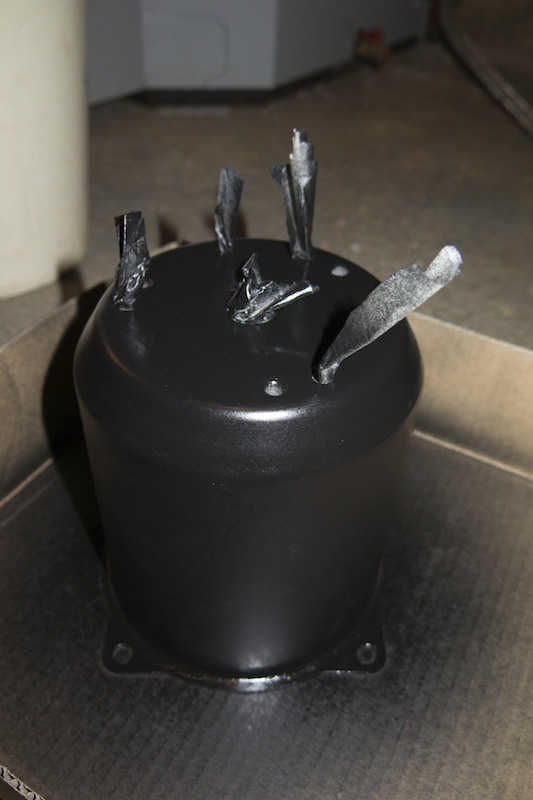
in primer
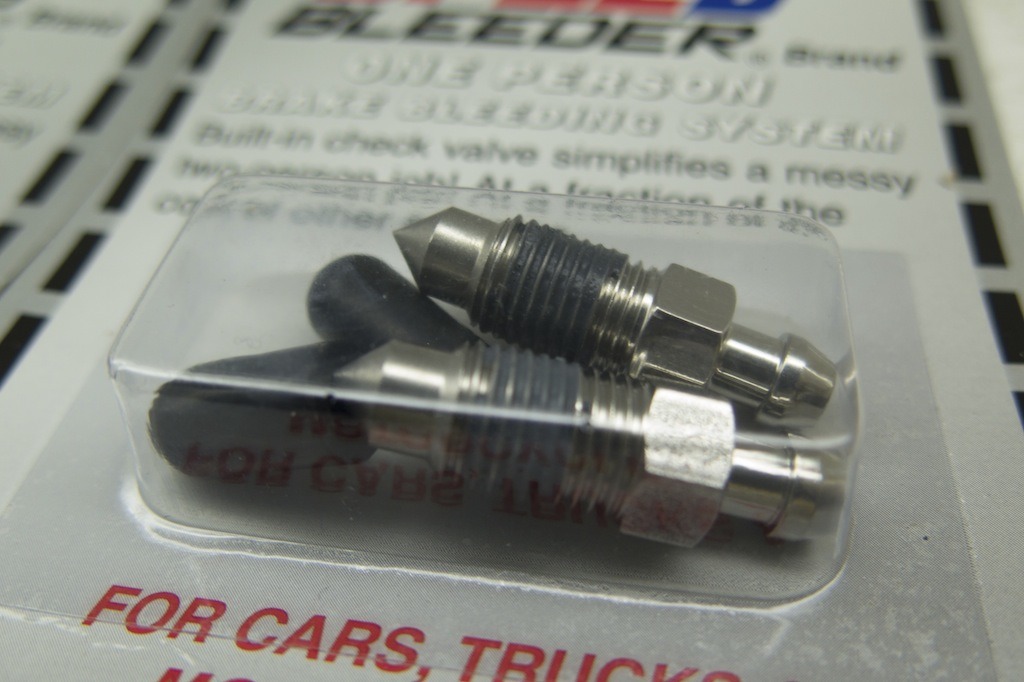
I installed speed bleeder screws for easier bleeding
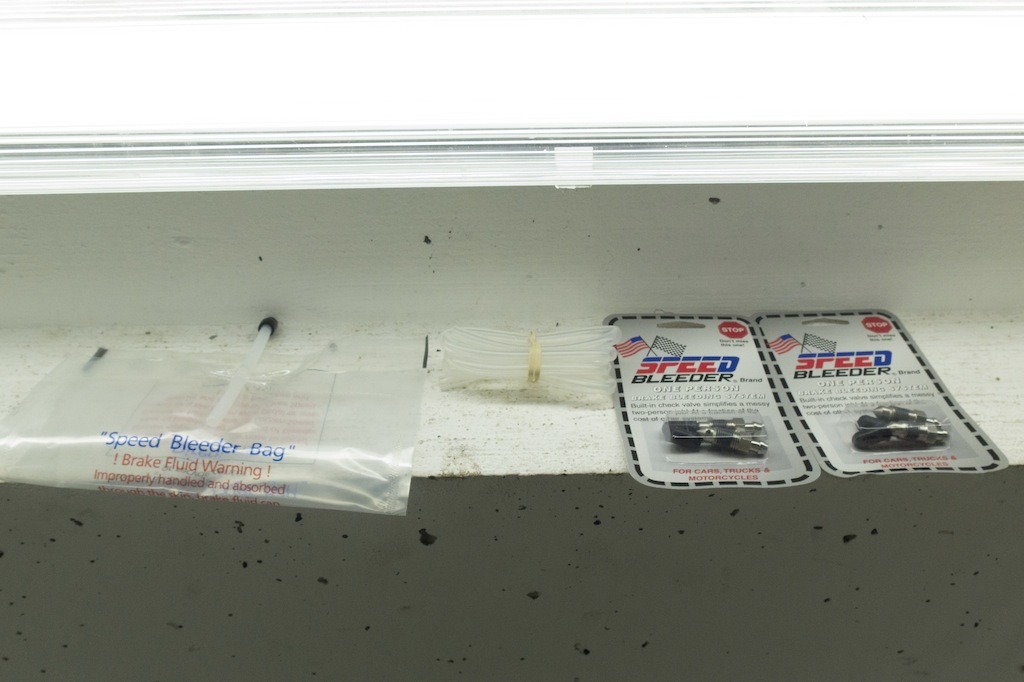
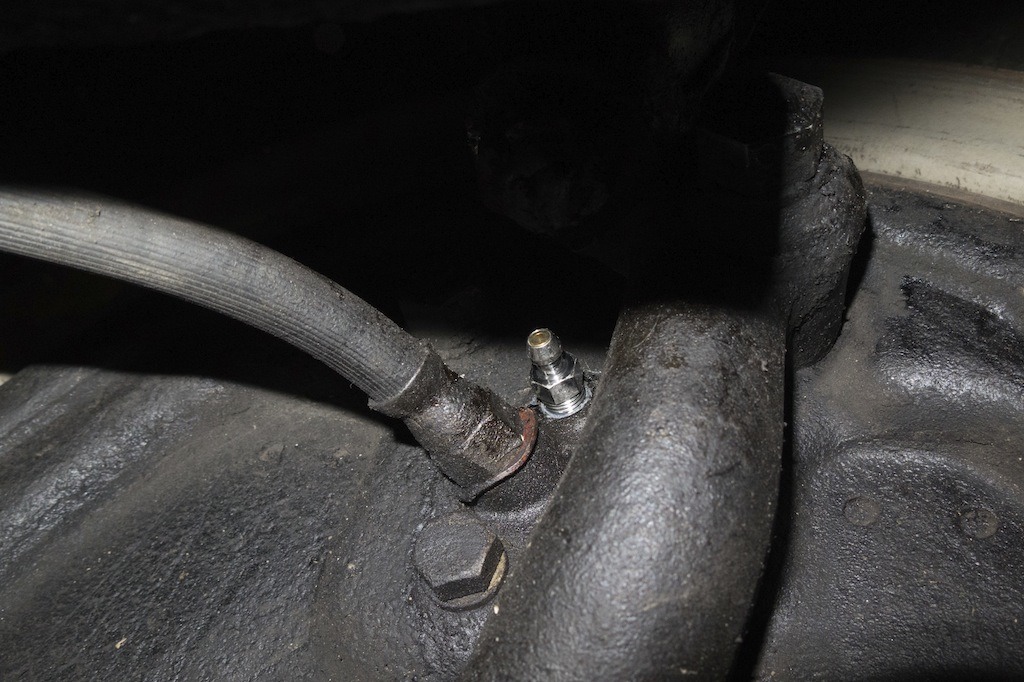
Speed bleeder screw installed
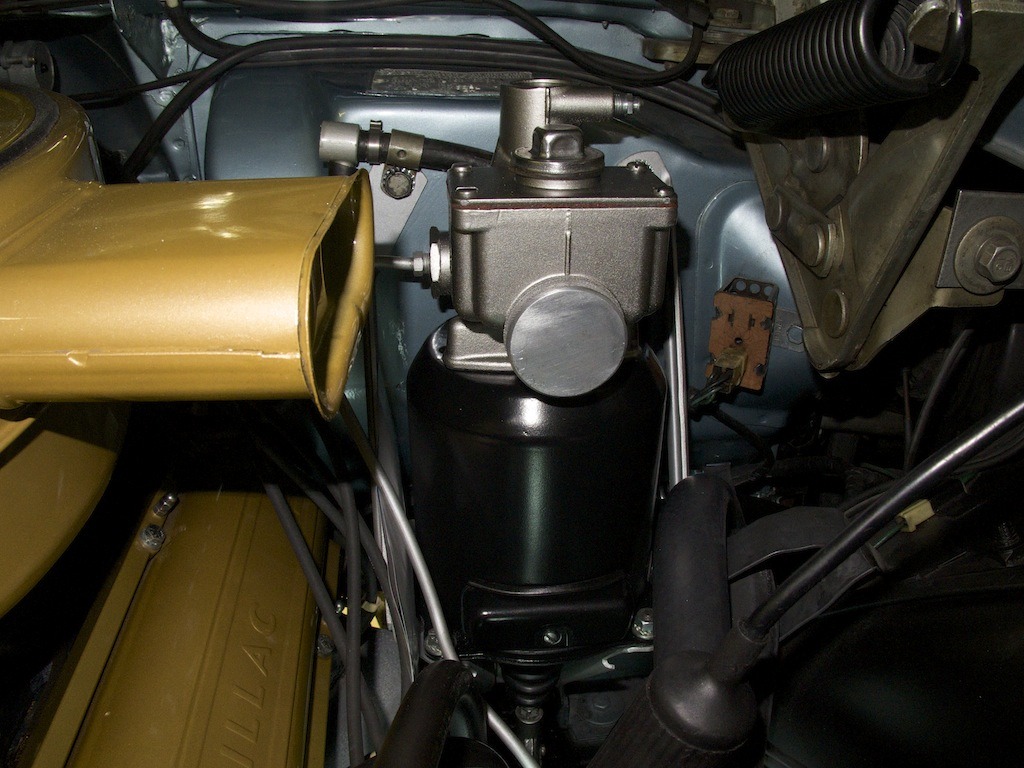
The rebuilt and restored Bendix unit is back in the car
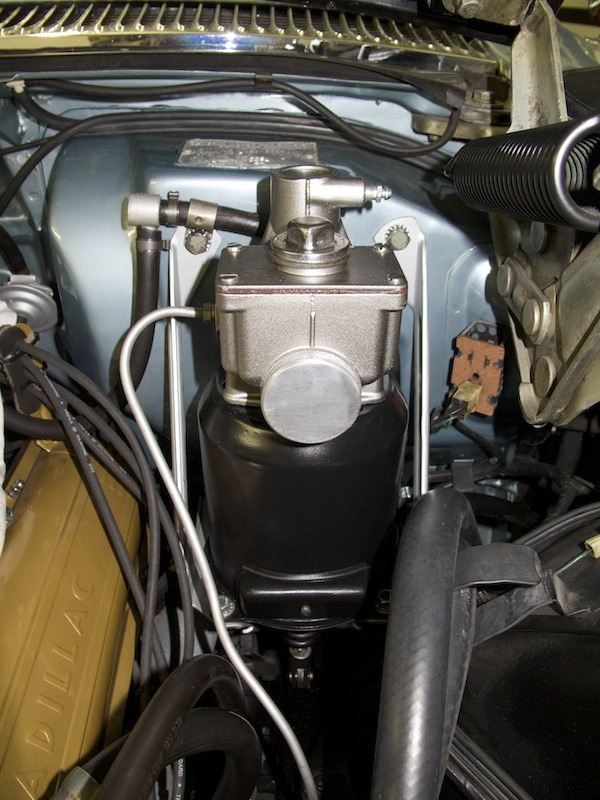
The rebuilt and restored Bendix unit is back in the car